Publishing a video to YouTube programmatically
In today's digital age, video content has become an increasingly popular medium for communication, marketing, and entertainment. However, creating and publishing videos manually can be a time-consuming and repetitive task. Fortunately, with the advancements in APIs and video automation tools, it is now possible to streamline the video publication process.
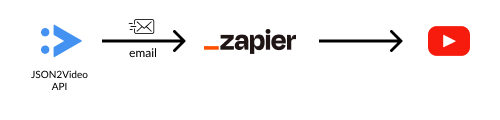
In this tutorial, we will explore how to automate the publication of videos created with the JSON2Video video editing API to YouTube by simply sending an email to Zapier.
About JSON2Video
The JSON2Video API is a versatile video editing API that generates videos dynamically using JSON data and predefined templates. It offers a programmable interface to define video content, layout, and style. With this API, we can automate video creation for personalized marketing campaigns or data-driven visualizations.
About Zapier and Zaps
Zapier is an integration platform that automates workflows between web applications. It provides pre-built integrations called "Zaps" that connect different services. In this tutorial, we'll use Zapier's email-triggered Zaps to connect the JSON2Video API with YouTube for automatic video publication.
Setting up the JSON2Video part is very easy, as you just add some code to the exports property of the movie object.
But setting up Zapier and connecting it to YouTube is a little bit tricky.
Follow the steps below.
Setting up the Environment
Before we dive into automating video publication, it's essential to ensure that we have all the necessary tools and accounts in place. Make sure you have the following:
- JSON2Video API credentials: Sign up for a free JSON2Video API account here and get your API key.
- Zapier account: Sign up for a Zapier account. Zapier offers both free and paid plans with varying features and usage limits.
- YouTube account: Sign up for a YouTube account if you don't have one already, and create a channel for your tests
Preparing Zapier to receive emails
Zapier provides a wide range of triggers to initiate workflows, and one of the most versatile options is the email trigger. With an email trigger, we can set up a Zap that activates whenever an email is received at a specified address.
In our case, we'll use the email trigger to start the video publication process when the API sends an email containing the necessary information to Zapier.
1. Enable the Email Parser integration in Zapier
To use the email trigger in Zapier, you first need to enable the Email Parser integration in your Zapier account.
Follow these steps:
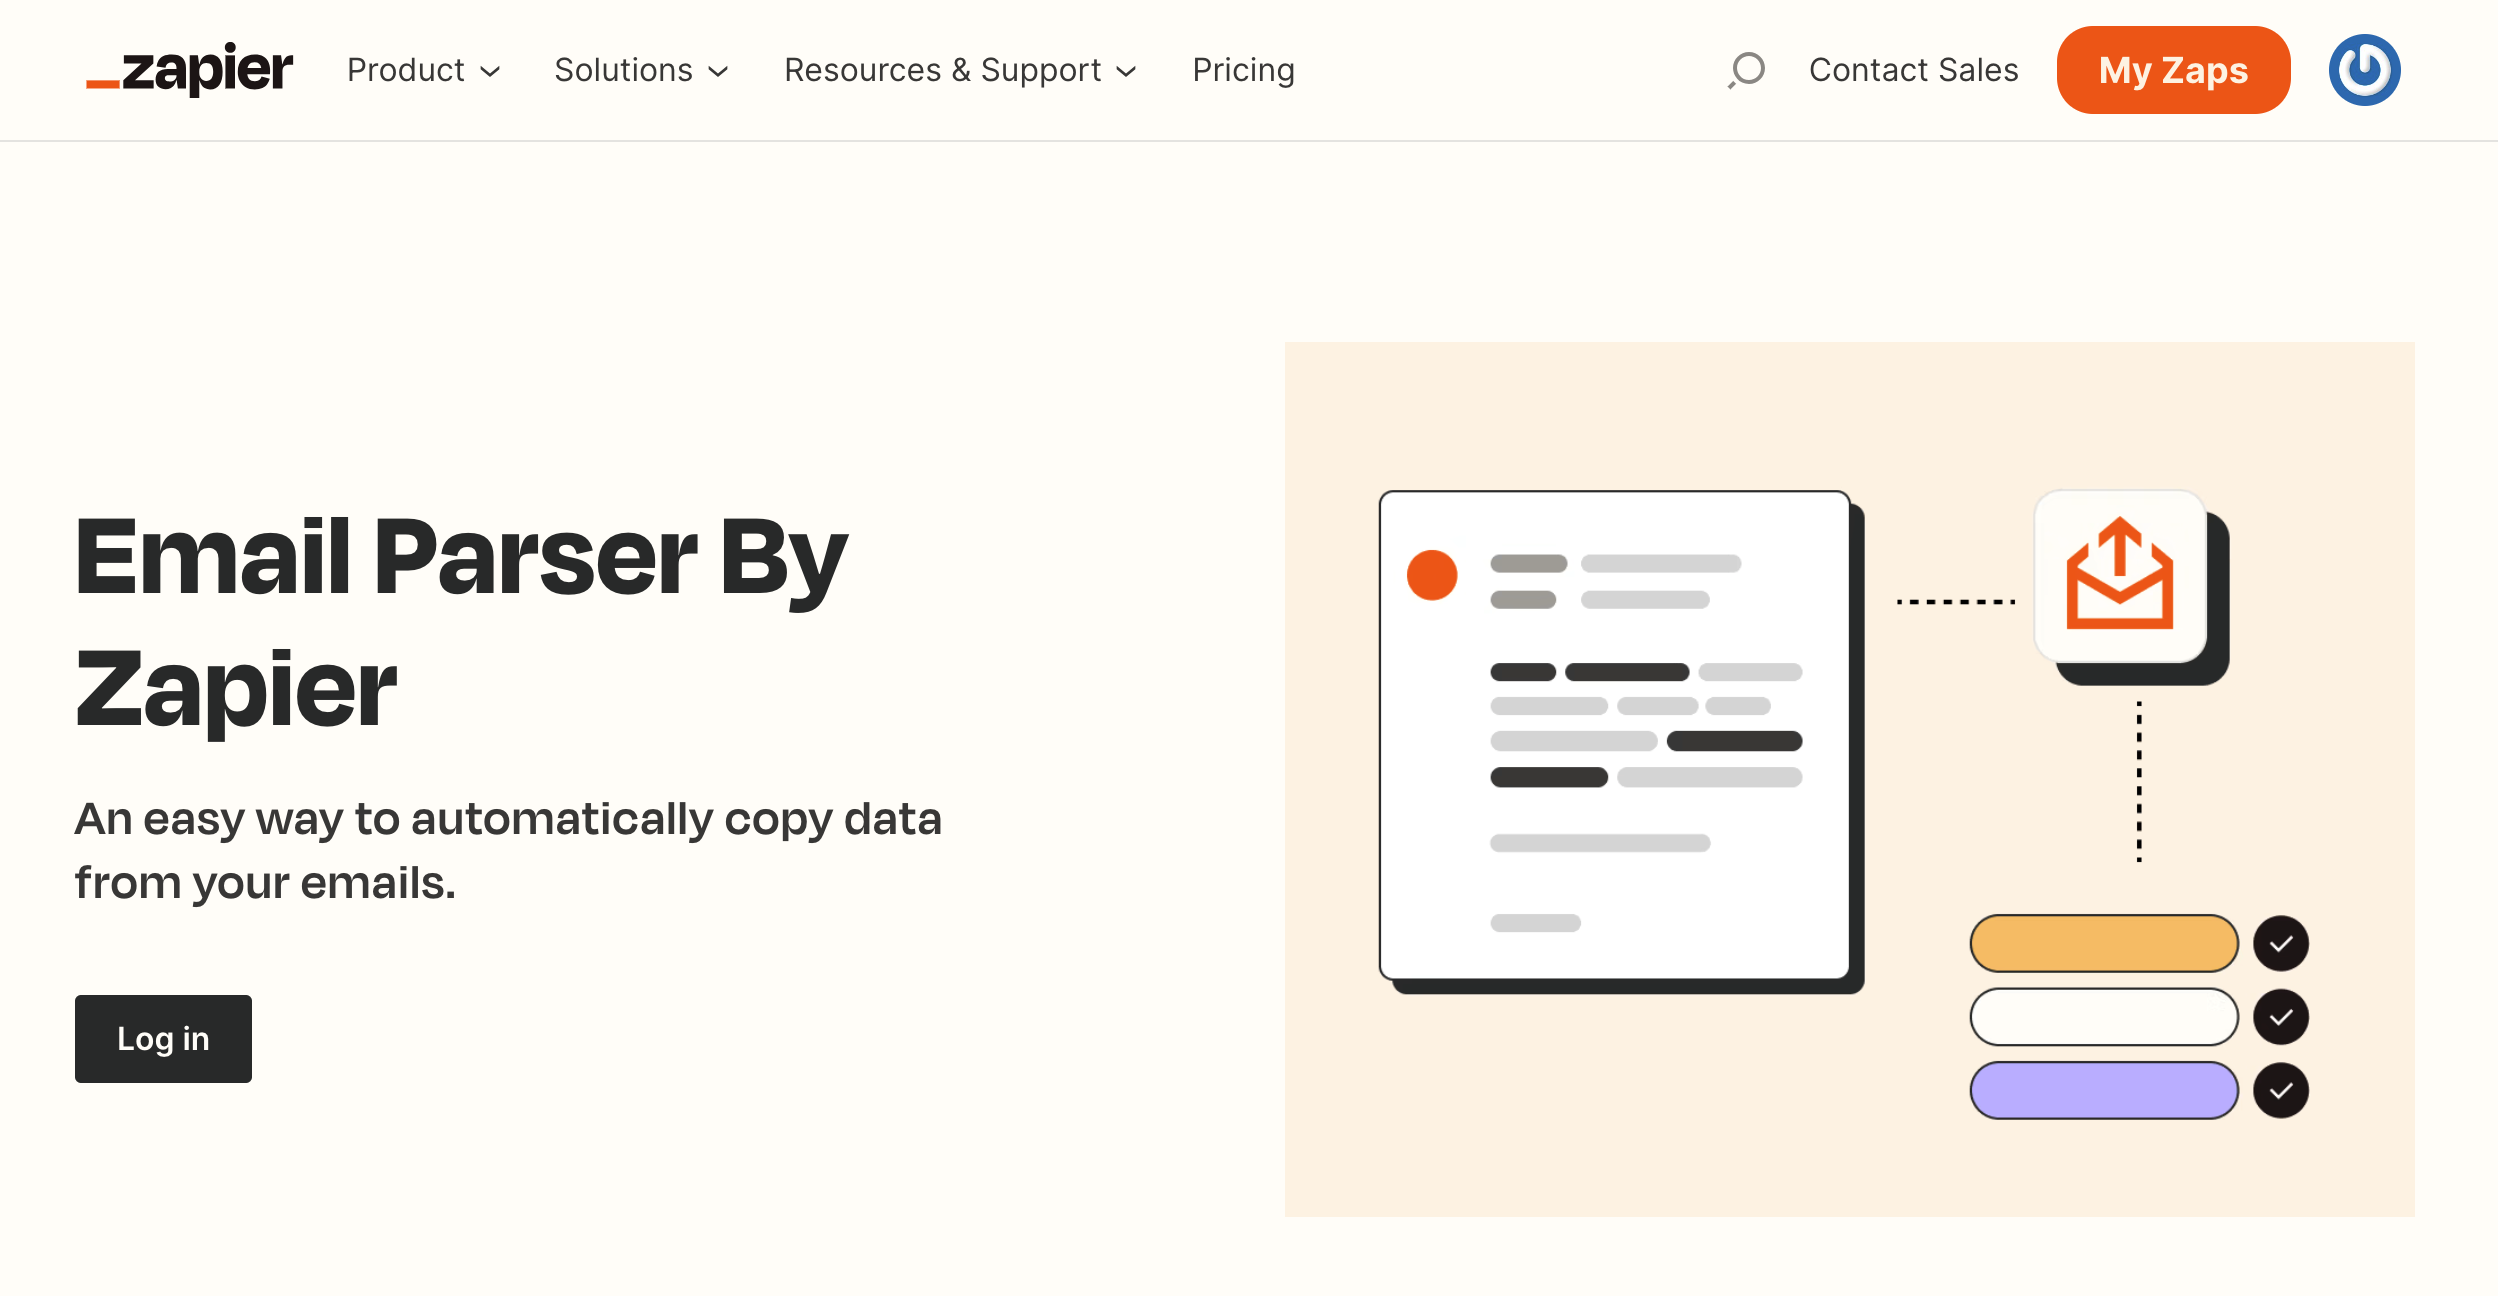
- Go to Email Parser by Zapier page
- Click on the Log in button
- Log in with your Zapier account
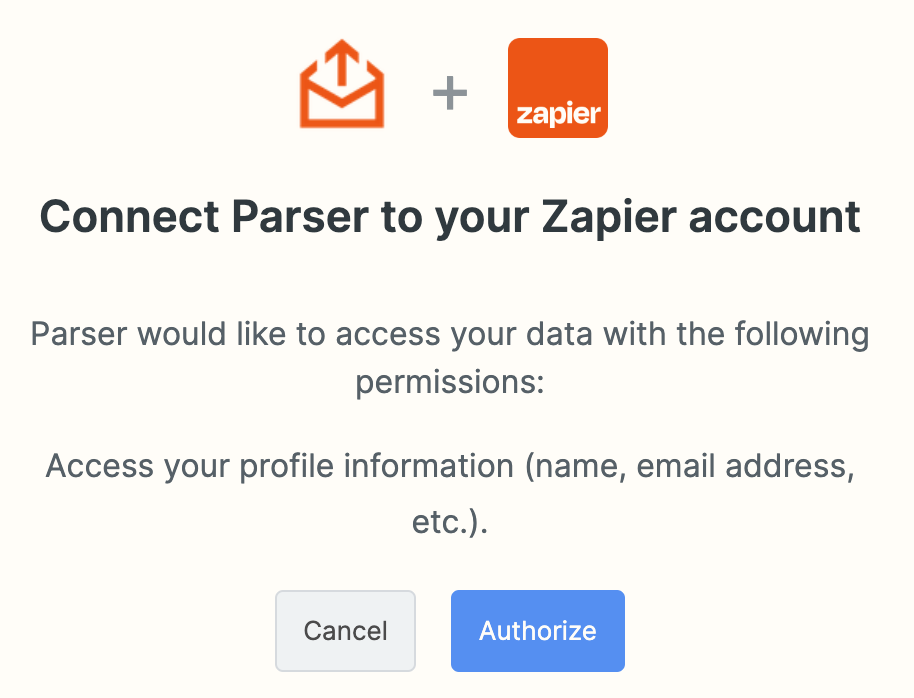
-
Connect Parser to your Zapier account (click Authorize button)
2. Create a Zapier mailbox
Once you enabled the Email Parser integration, you will be redirected to the Mailboxes page.
- Click on the Create Mailbox button
- A new random email address with @robot.zapier.com will be created
- Click on "Skip waiting"
- You will land in the mailbox configuration form
- Fill it out like this:
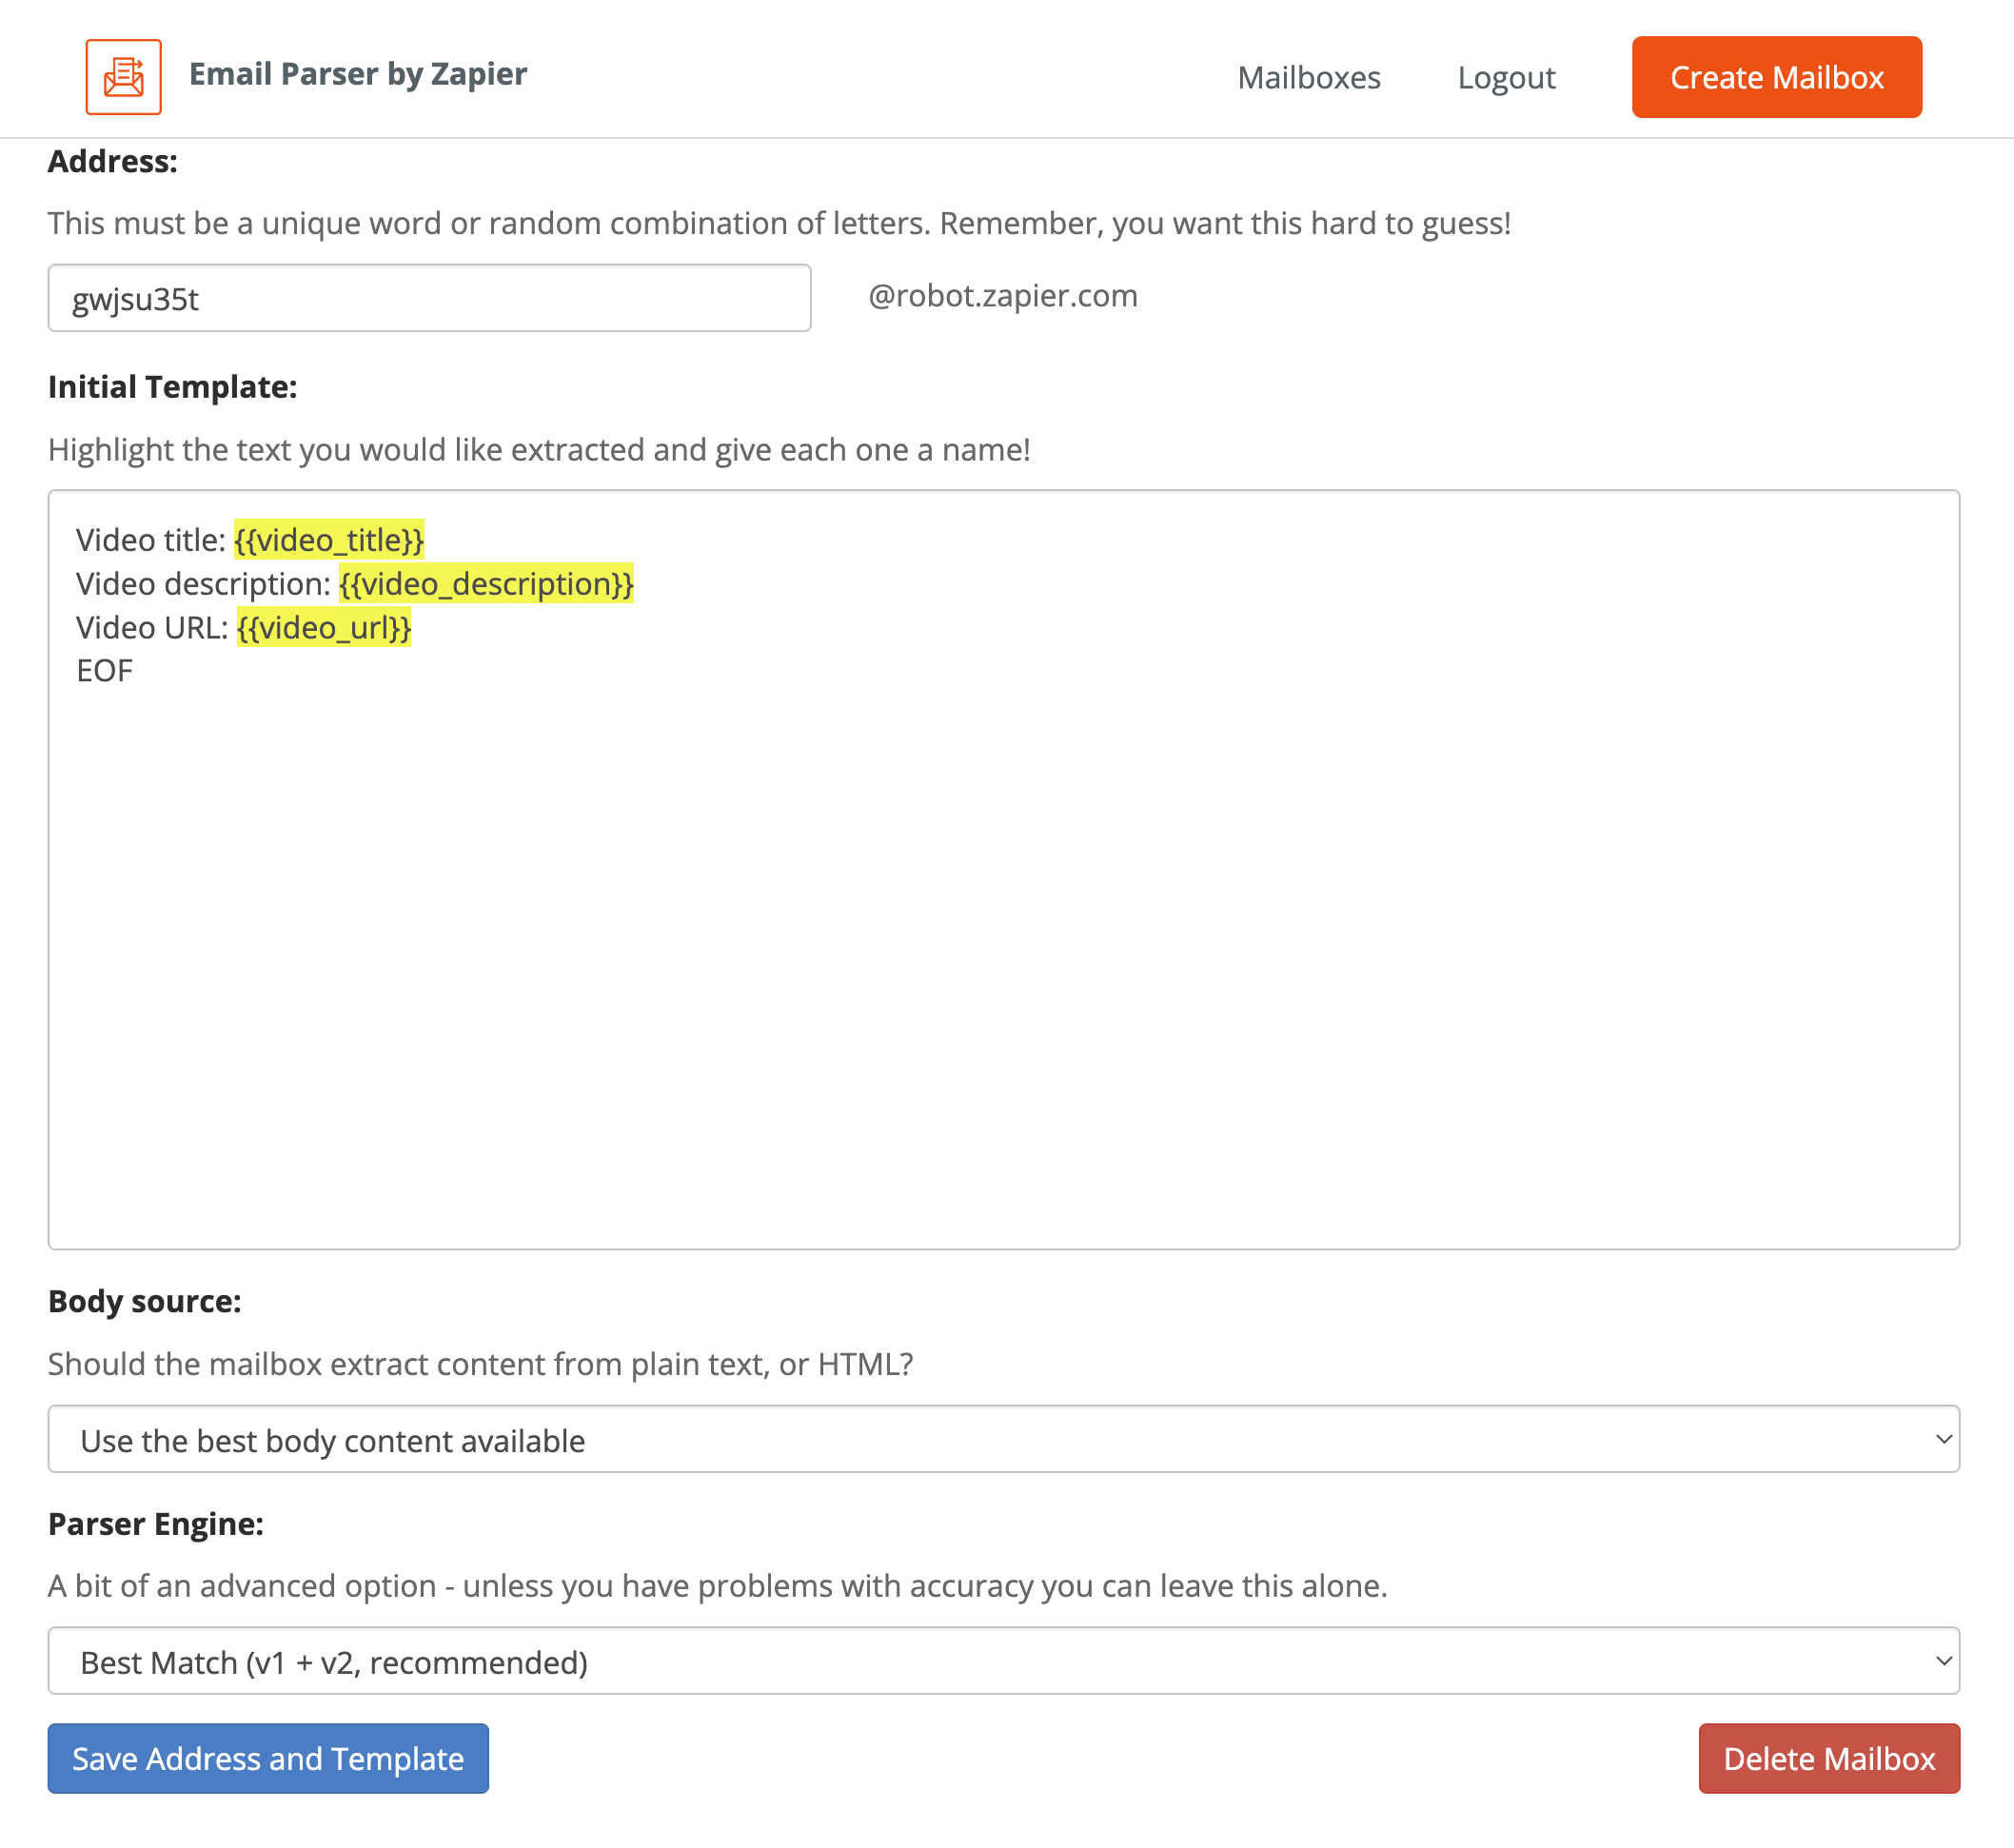
The Initial Template defines the structure of the email message Zapier is expecting to receive.
Zapier will capture the {{video_title}}, {{video_description}},
and {{video_url}} in the emails and convert them into key-value pairs that you can use later.
We recommend using EOF (or any other string) at the end of the template to help Zapier to identify the end of the message. EOF stands from End Of File.
3. Train Zapier to receive emails
Now that we have a mailbox, it's time to train Zapier to receive emails from the JSON2Video API. To do this, send a regular email (with Gmail or your email client) to your recently created Zapier email address with the following content:

Replace gwjsu35t@robot.zapier.com with your Zapier email address.
Let's check how Zapier understands the email content:
- Go to Mailboxes in the Zapier dashboard
- Click on "View Emails" for your email address
You should see something similar to this:
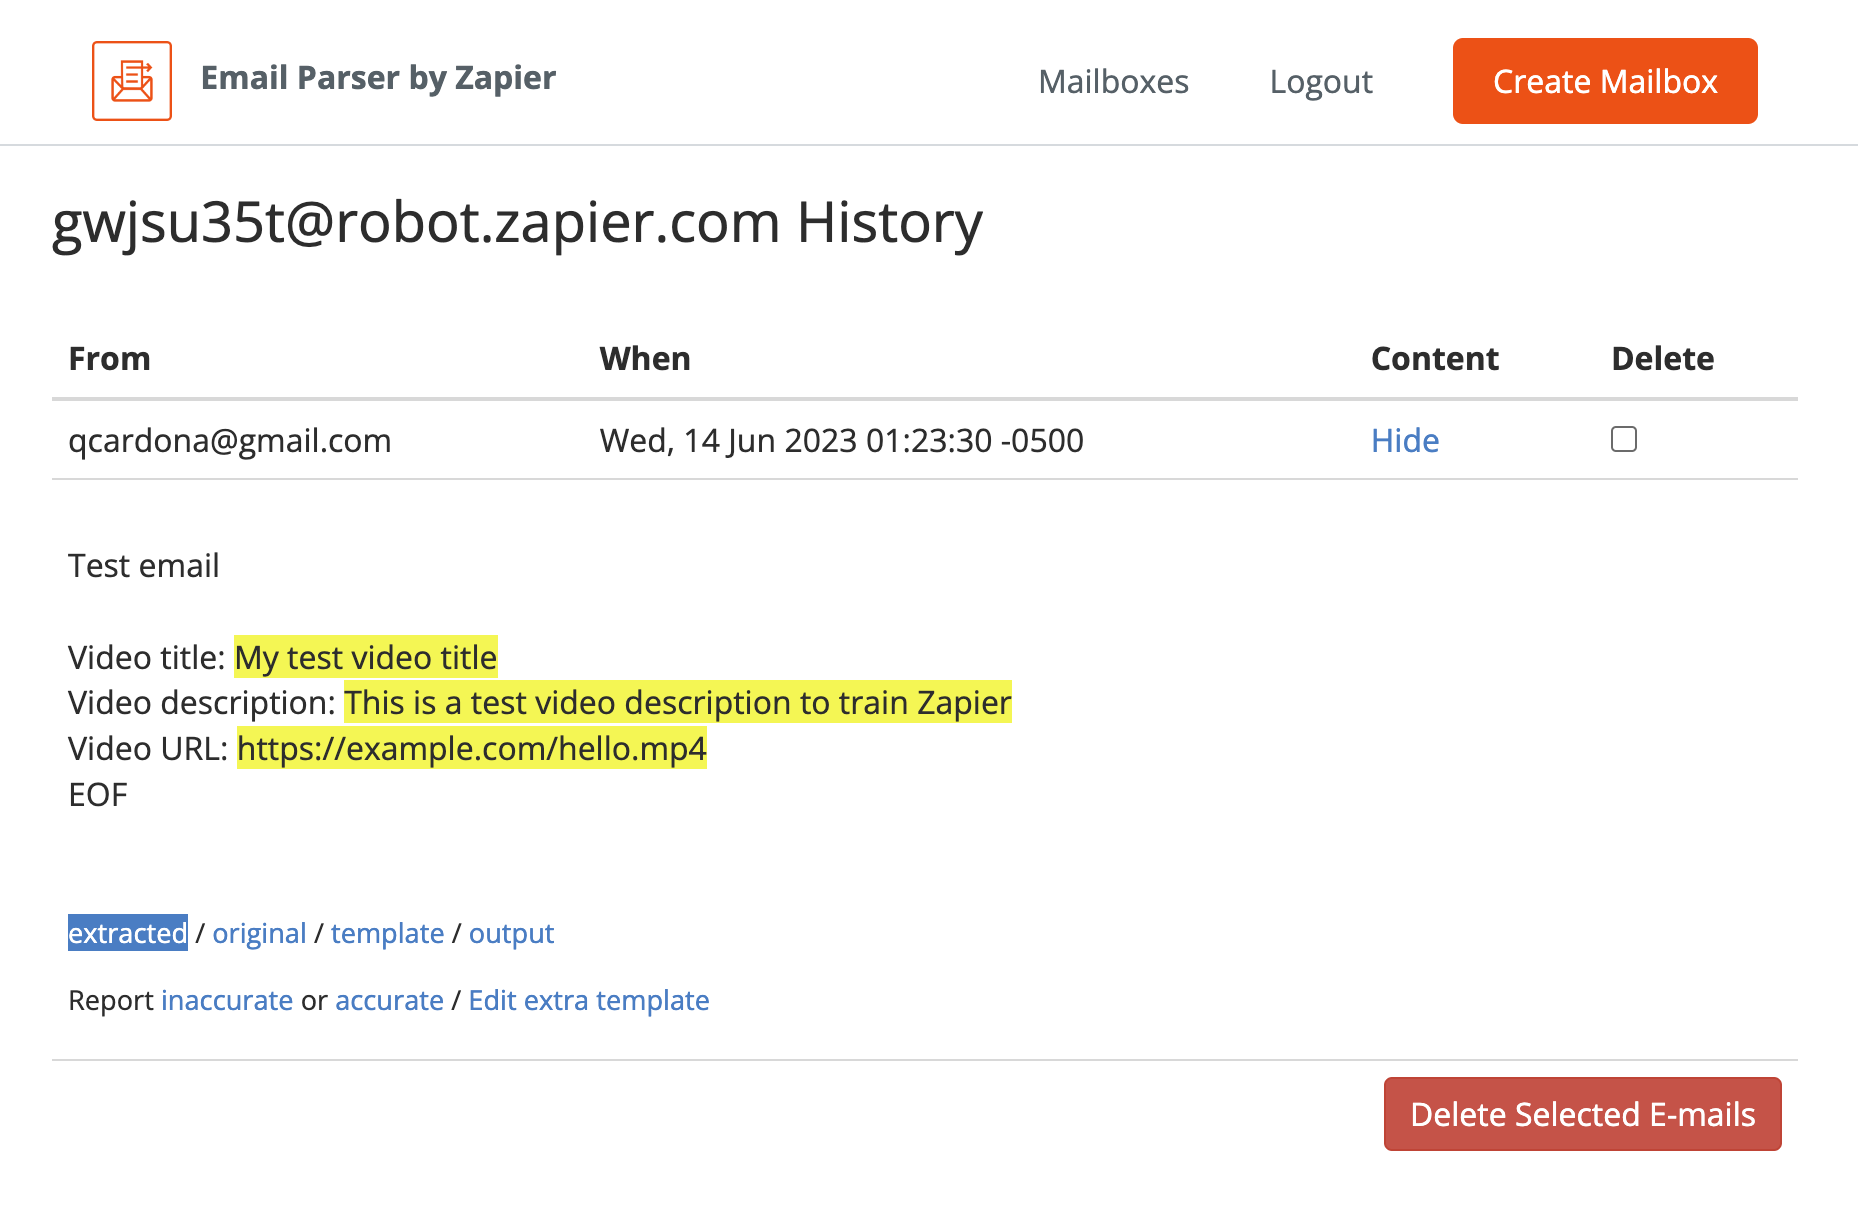
Zapier highlights in yellow the email content that it understands. We will use the video_title, video_description, and video_url as key-value pairs in following steps.
Connecting your YouTube account to Zapier
The next step is to connect your YouTube account to Zapier, authorising Zapier to publish videos to your channel.
- Go to My Apps page in the Zapier dashboard and click the "Add connection" button on the top-right side of the page.
- From the popup screen, search for "YouTube" and click on it.
- This will open a new floating window where you can select your Google account to use, or in case you are not logged in, you can log in to Google.
- Once you are logged in, click on the Allow button
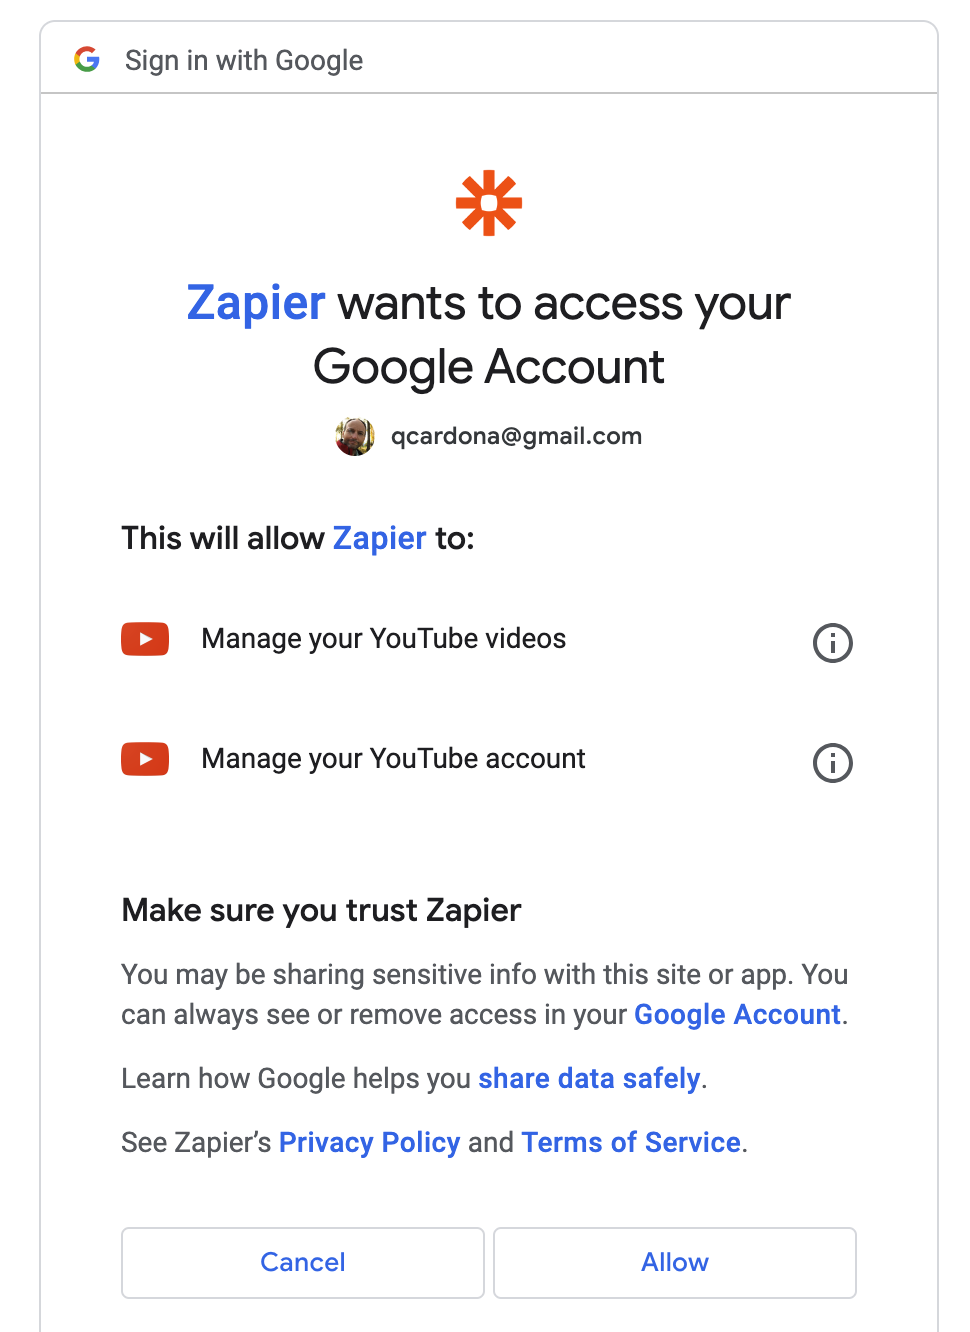
Now Zapier has access to your YouTube account and it can upload videos to your channel.
Create a Zap to upload videos to YouTube
We are now ready to create a Zap to upload videos to YouTube when Zapier receives an email. Go to the Zaps page in the Zapier dashboard and click on the "Create new Zap" button at the top-right side of the page
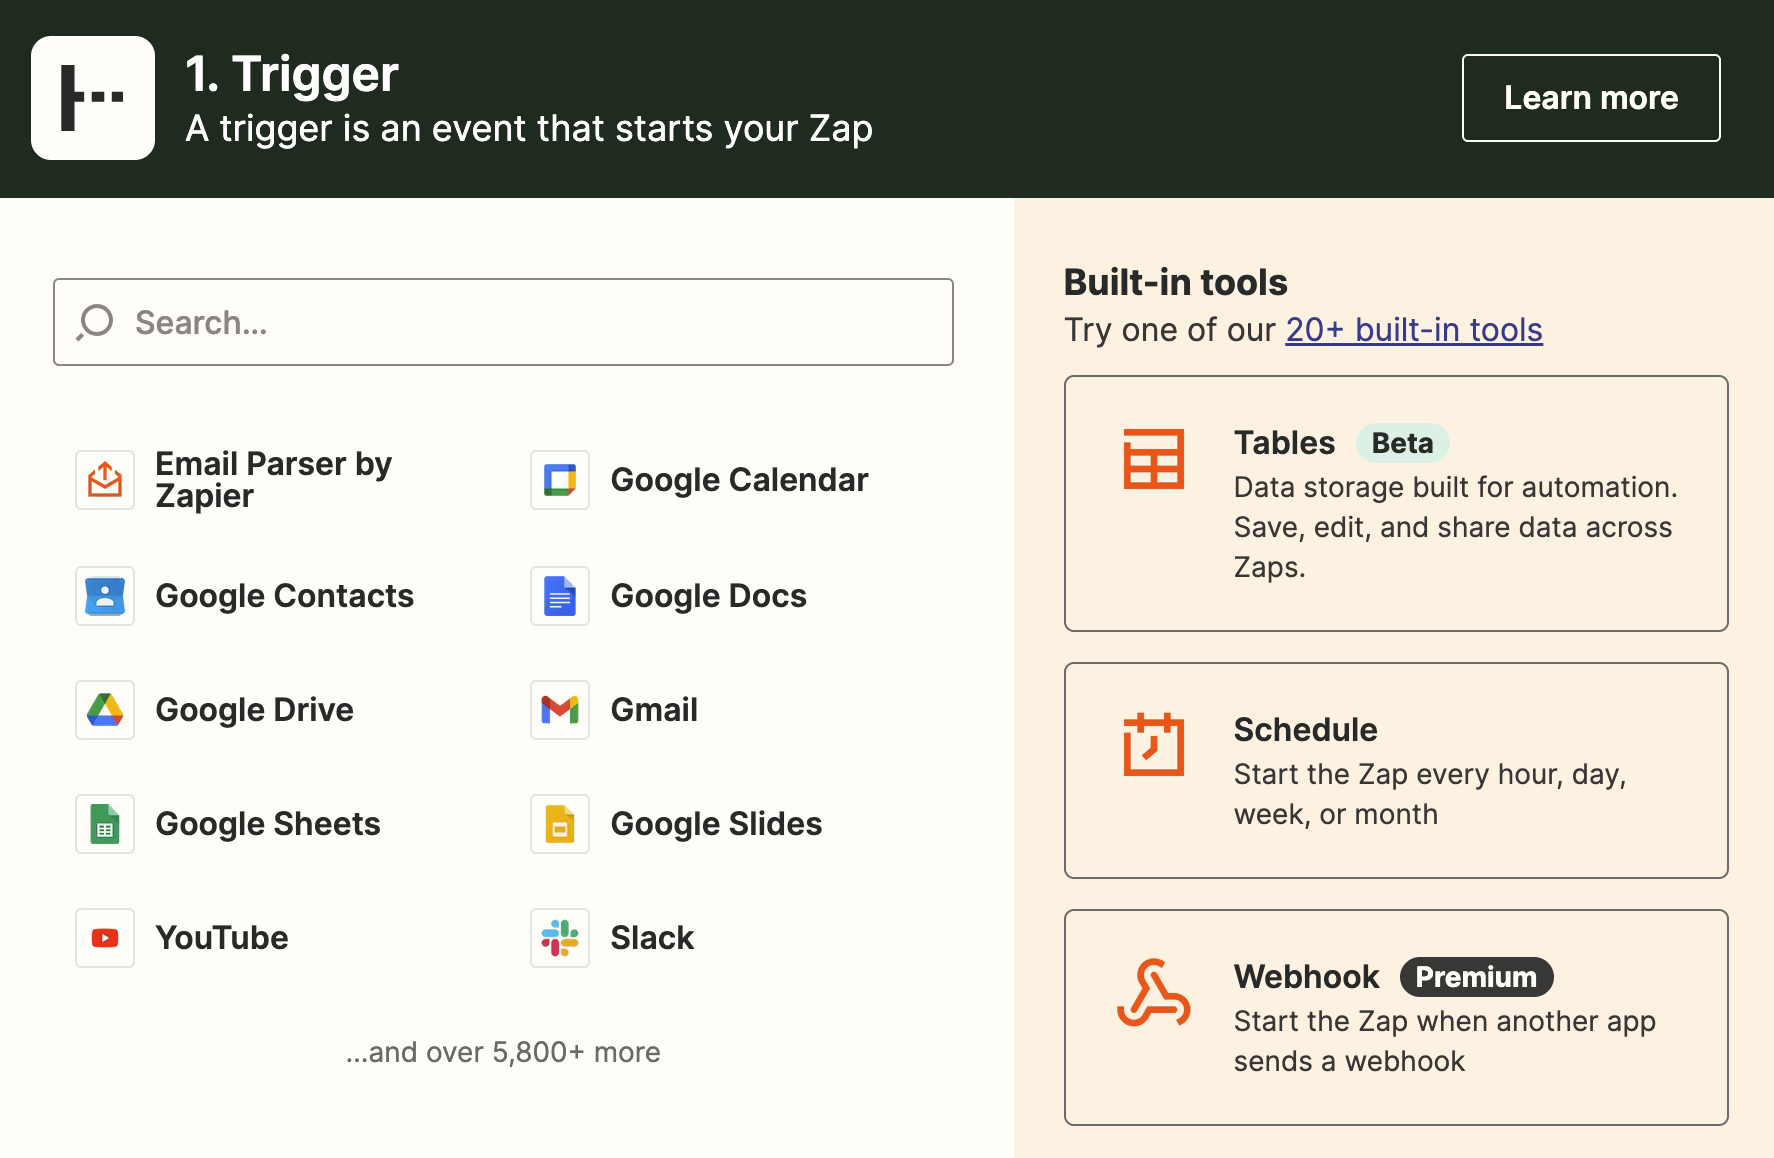
Configuring the Zap trigger
- As a trigger, select "Email Parser by Zapier"
- As event, select "New email"
- As account, choose your Email Parser account
- Next, choose the mailbox you created previously
- Click on "Continue" button
- Click on "Test" button, and Zapier will use the email message we sent previously to test the trigger
- If the test was successful, click on "Continue"
Configuring the Zap action
- As action, select "YouTube"
- Choose the "Upload Video" event
- Click on "Continue" button
- Select the YouTube account you set up previously
- Click on "Continue" button
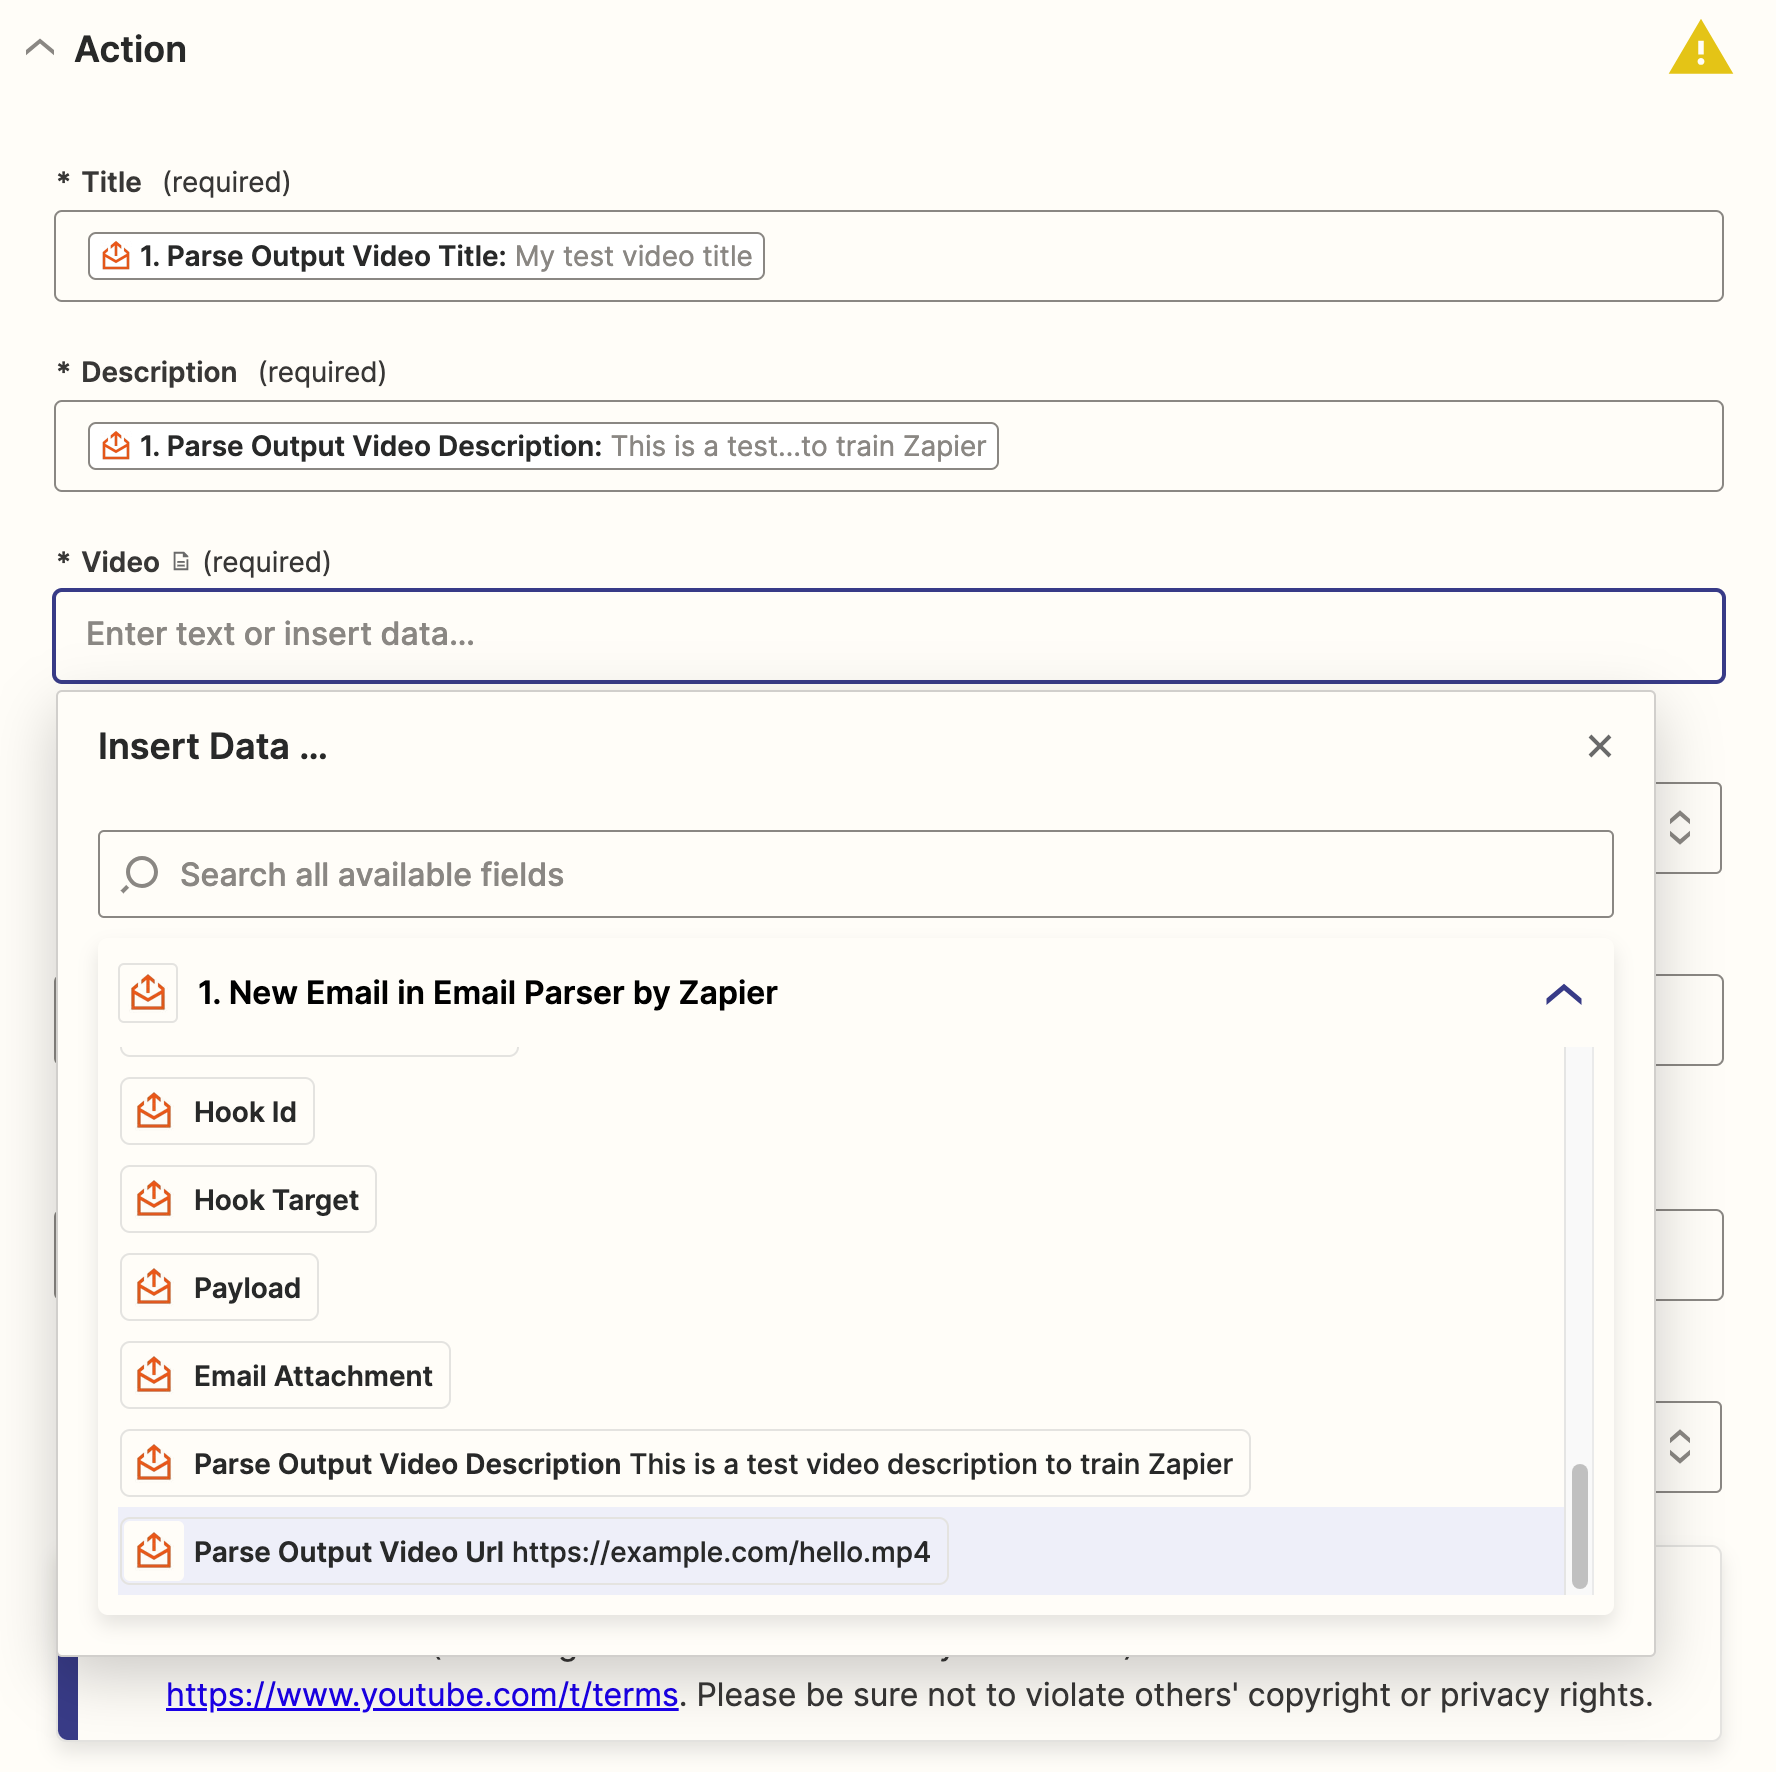
- Setup the "Action" choosing the parsed email content for the Title, Description and Video fields
- Click on "Continue" button
- If you used a valid video URL, click on "Test action", if not, click on "Skip test"
- Finally, click on "Publish" to enable your Zap
Send an email to Zapier once the video is rendered
Now, we will setup the JSON2Video API to send an email to Zapier once the video is rendered. To achieve this, we will use the exports feature like this:
{
    "resolution": "full-hd",
    "quality": "high",
    "scenes": [...],
    "exports": [{
        "destinations": [{
            "type": "email",
            "to": "gwjsu35t@robot.zapier.com",
            "subject": "New video from JSON2Video: __filename__",
            "message": "Video title: __filename__<br>Video description: My video description<br>Video URL: __video_url__<br>EOF"
        }]
    }]
}
Please note that in the message property we are composing the email content following the
same format that we used in our training email to Zapier, including the final EOF particle at the end of the message.
We are using <br> to insert a line break because the email is sent in HTML format.
We are using __video_url__ to dynamically insert the video URL in the message.
If you are using the PHP SDK or Node JS SDK, make sure you update to the latest version (v2.0.2 or newer).
Final recap
Creating an automated YouTube channel opens up a world of possibilities across various domains. From content creators and influencers to businesses, educational institutions, news organizations, and nonprofits, the automation of YouTube channels brings efficiency, scalability, and enhanced audience engagement.
By leveraging automation, you can maximize your impact, establish a strong online presence, and efficiently manage your YouTube content strategy. Consider the use cases discussed in this article and adapt the automation principles to your specific needs to unlock the full potential of an automated YouTube channel.
This is a quite long tutorial because the Zapier configuration is quite complex. Hopefully you didn't get lost, and if you did, please let us know and send us a message.
If you are a JSON2Video client we can support you in the implementation of your automated solution. Please, get in contact with us.