You can also use exports and destinations to define a call to a webhook on your end and get notified when the rendering process is complete or the exports finished.
The webhook destination object has the following required properties:
- type: webhook
- endpoint: the URL of the webhook
And one optional property:
- content-type: json | urlencoded
The default content-type is json.
Example:
{
    "resolution": "full-hd",
    "quality": "high",
    "scenes": [],
    "exports": [
        {
            "destinations": [
                {
                    "type": "webhook",
                    "endpoint": "https://domain.com/webhook"
                }
            ]
        }
    ]
}
The webhooks are always a POST requests, and depending of the content-type you will
receive a JSON payload or form encoded variables.
The webhook payload includes the following video properties: width, height, duration,
size in bytes, and url to the video hosted by JSON2Video.
Example of a JSON payload:
{
    "width": "1920",
    "height": "1080",
    "duration": "10",
    "size": "35870",
    "url": "https://assets.json2video.com/clients/bm1pc474z4/renders/2023-03-25-73376.mp4",
    "project": "4GpXmec1aEttCLTF",
    "id": "this-is-my-id"
}
The id property is populated with the value of the id property of the movie object.
If you include an id when submitting a movie object, you will receive it in the webhook payload.
You can use this to id to identify what is coming back.
Webhooks in the dashboard
Webhooks can also be defined as Connections in the dashboard and referenced by the connection id property.
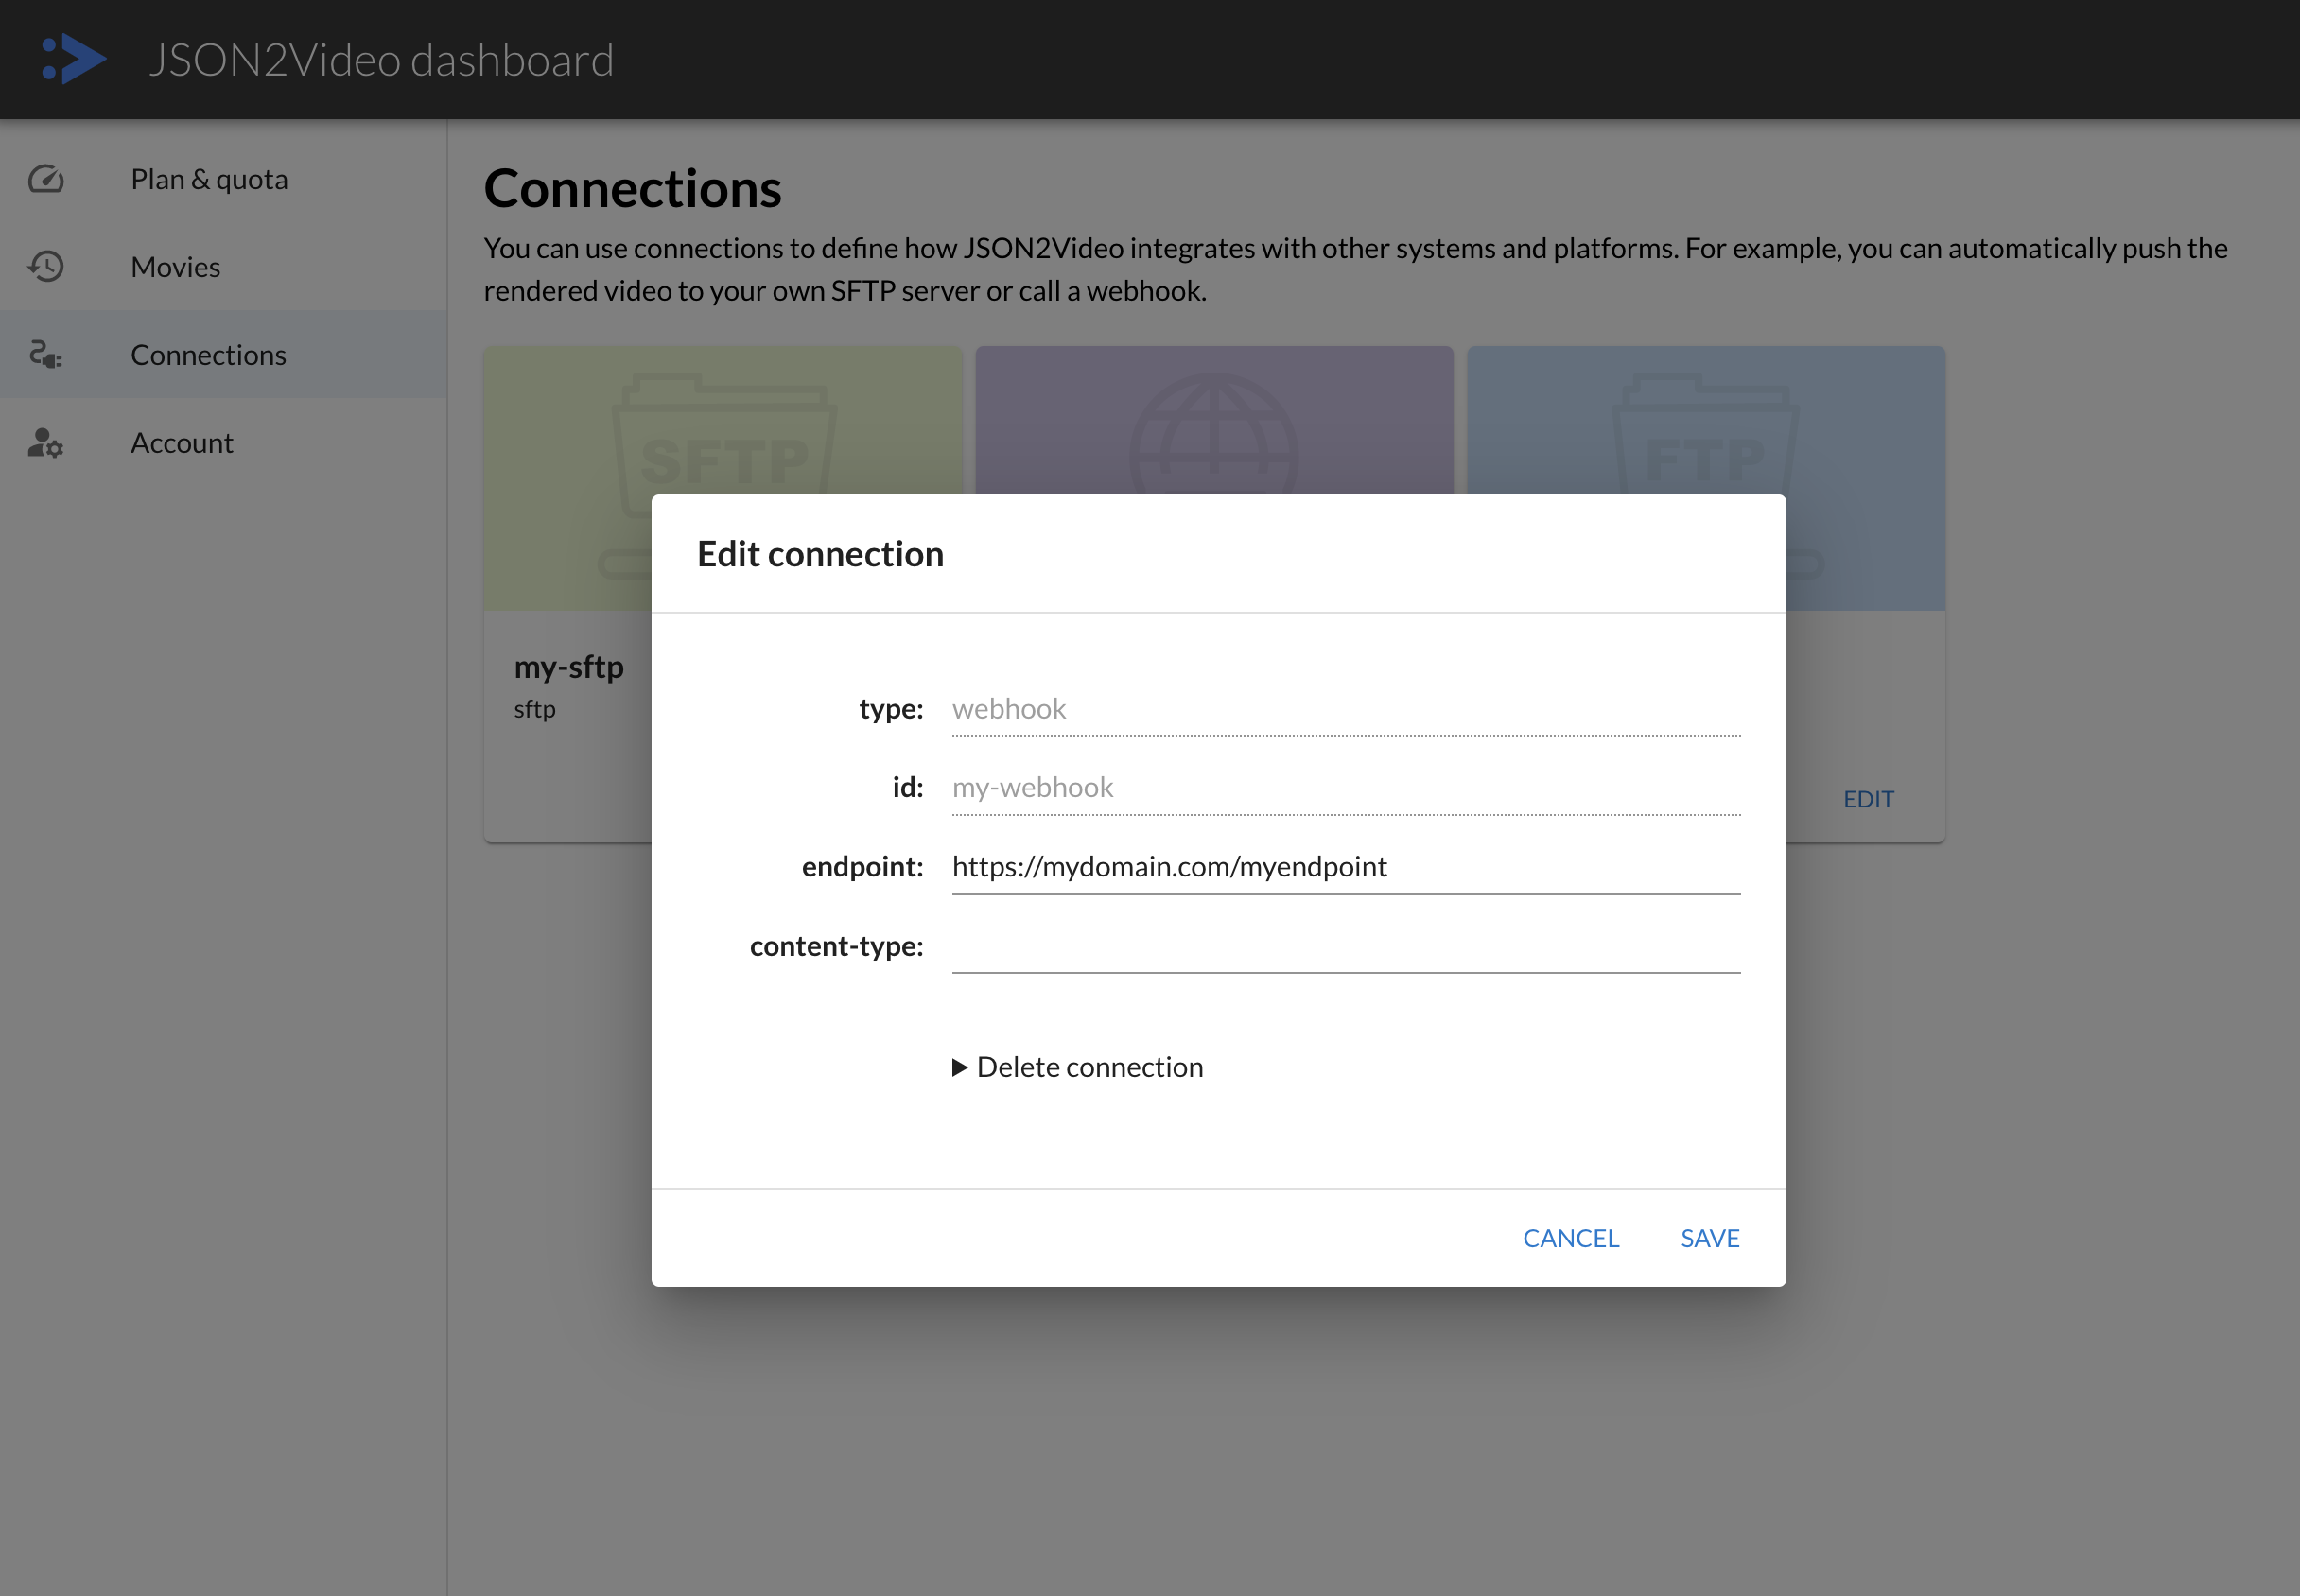
Do not confuse the connection id with the id property of the movie object.
The connection id identifies the connection in the dashboard and it's used to refer to a connection defined in the dashboard.
The id property of the movie object is used to identify a movie you submitted to render.
Using multiple destinations
As destinations are executed sequentially, if you add a webhook destination after
the ftp destination, the webhook will be executed after and you will get
a notification when the upload process is complete.
Example:
{
    "resolution": "full-hd",
    "quality": "high",
    "scenes": [],
    "exports": [
        {
            "destinations": [
                {
                    "id": "test-ftp",
                    "file": "__hh__-__nn__-__random__.mp4"
                },
                {
                    "type": "webhook",
                    "endpoint": "https://domain.com/webhook"
                }
            ]
        }
    ]
}
The webhook at https://domain.com/webhook will be called once the FTP upload process is complete.
How to create the webhook endpoint
It's on your side to create the webhook endpoint that will be called by JSON2Video. The endpoint MUST BE HOSTED PUBLICLY on your server and have a valid SSL certificate.
You can write your endpoint in any programming language you want. Here are some examples in PHP and NodeJS
PHP Endpoint
To set up a webhook endpoint in PHP for JSON2Video, follow these steps:
- Create a PHP file: Start by creating a new PHP file (e.g.,
webhook.php) in your server environment. - Retrieve JSON Payload: Use
file_get_contents("php://input")to retrieve the JSON payload sent by JSON2Video through the POST request. - Decode JSON Data: Decode the JSON payload using
json_decode($jsonPayload, true)to access the video metadata and download URL. - Custom Processing Logic: Implement your custom processing logic for handling the video metadata and download URL.
- Send Response (Optional): If needed, send an HTTP response back to JSON2Video. Use
http_response_code(200)to indicate a successful webhook receipt.
The following is an example of a PHP endpoint:
// Retrieve JSON payload from the POST request
$jsonPayload = file_get_contents("php://input");

// Decode JSON data
$data = json_decode($jsonPayload, true);

// Handle video metadata and download URL
$videoMetadata = $data["metadata"];
$downloadURL = $data["download_url"];

// Your custom processing logic here

// Send a response if needed
http_response_code(200);
echo "Webhook received successfully!";
Node.js Endpoint
To create a webhook endpoint in Node.js for JSON2Video, follow these steps:
- Install Dependencies: If you haven't already, install the necessary dependencies by running
npm install express body-parserin your project directory. - Create a Node.js File: Create a new Node.js file (e.g.,
webhook.js) in your project directory. - Set Up Express Server: Use the Express framework to set up a server. Define the route (
/webhook) where JSON2Video will send the POST requests. - Parse JSON Payload: Utilize the
body-parsermiddleware to parse JSON payloads in the request body. - Handle Webhook Logic: Implement your custom logic inside the
/webhookroute to process the video metadata and download URL. - Send Response (Optional): If required, send an HTTP response back to JSON2Video using
res.status(200).send('Webhook received successfully!').
The following is an example of a Node.js endpoint:
const express = require("express");
const bodyParser = require("body-parser");

const app = express();
const port = 3000; // Choose your preferred port

// Middleware to parse JSON payloads
app.use(bodyParser.json());

// Define the webhook endpoint
app.post("/webhook", (req, res) => {
  // Retrieve video metadata and download URL from the request body
  const { metadata, download_url } = req.body;

  // Your custom processing logic here

  // Send a response if needed
  res.status(200).send("Webhook received successfully!");
});

// Start the server
app.listen(port, () => {
  console.log(`Server running at http://localhost:${port}/webhook`);
});
Notes:
- Ensure the PHP or Node.js server is publicly accessible and has a valid SSL certificate for secure communication.
- Replace the placeholder logic in the examples with your specific video processing requirements.
- Test your webhook endpoint thoroughly to ensure proper integration with JSON2Video.