In this article I will go through the steps of automating the transcription of videos and adding automatic subtitles to them using JSON2Video API and Make.com. This is a quite common video automation process easily achivable with JSON2Video.
This is an example of the resulting video:
Step 1: Upload the video to the Internet
For your video to be accessible to JSON2Video API you need to upload it to the Internet and it should be publicly accessible. An easy option is to upload it to Google Drive or Dropbox and share the file publicly.
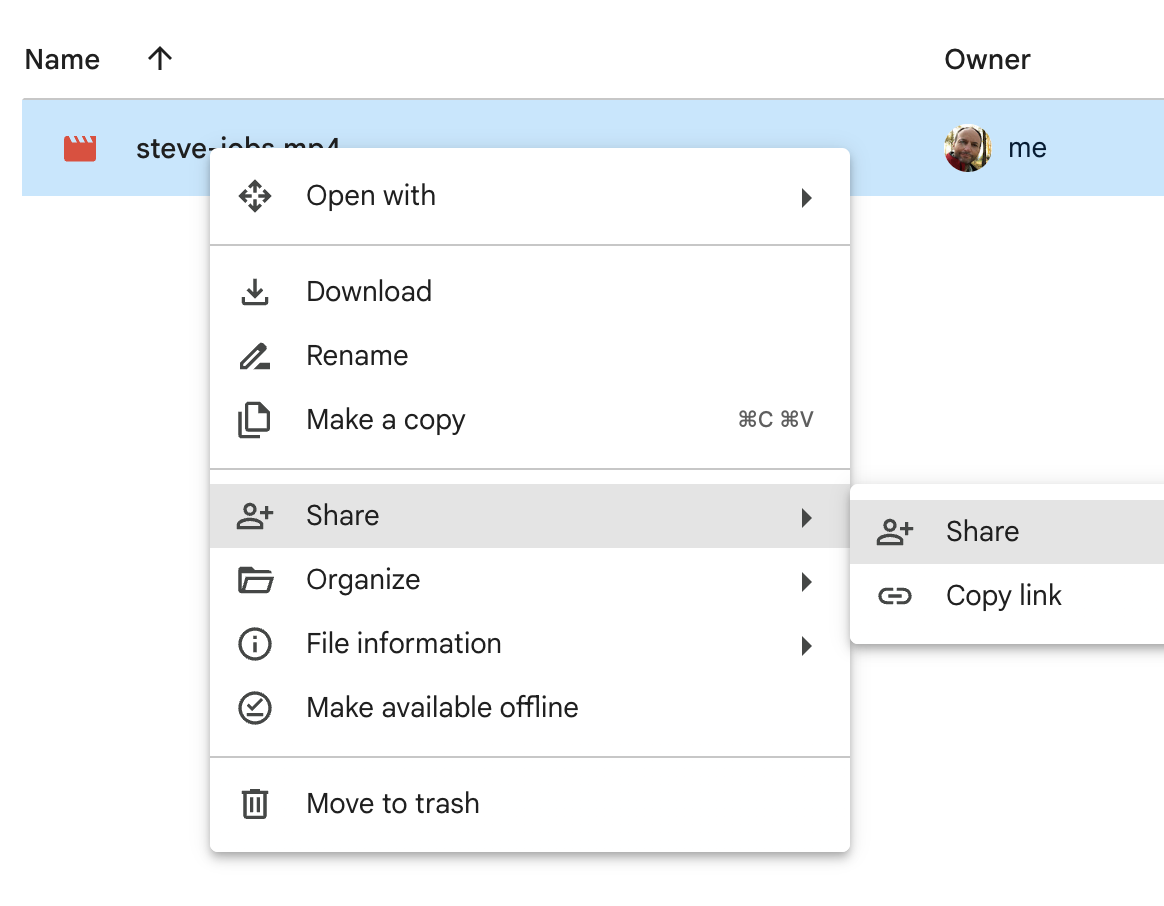
If you are using Google Drive, right-click on a file, then click on "Share", and again "Share" to open the share dialog.
And then choose "Anyone with the link" option in the "General access" section to make the file publicly accessible. Press the "Copy link" button to get the public link to the file.
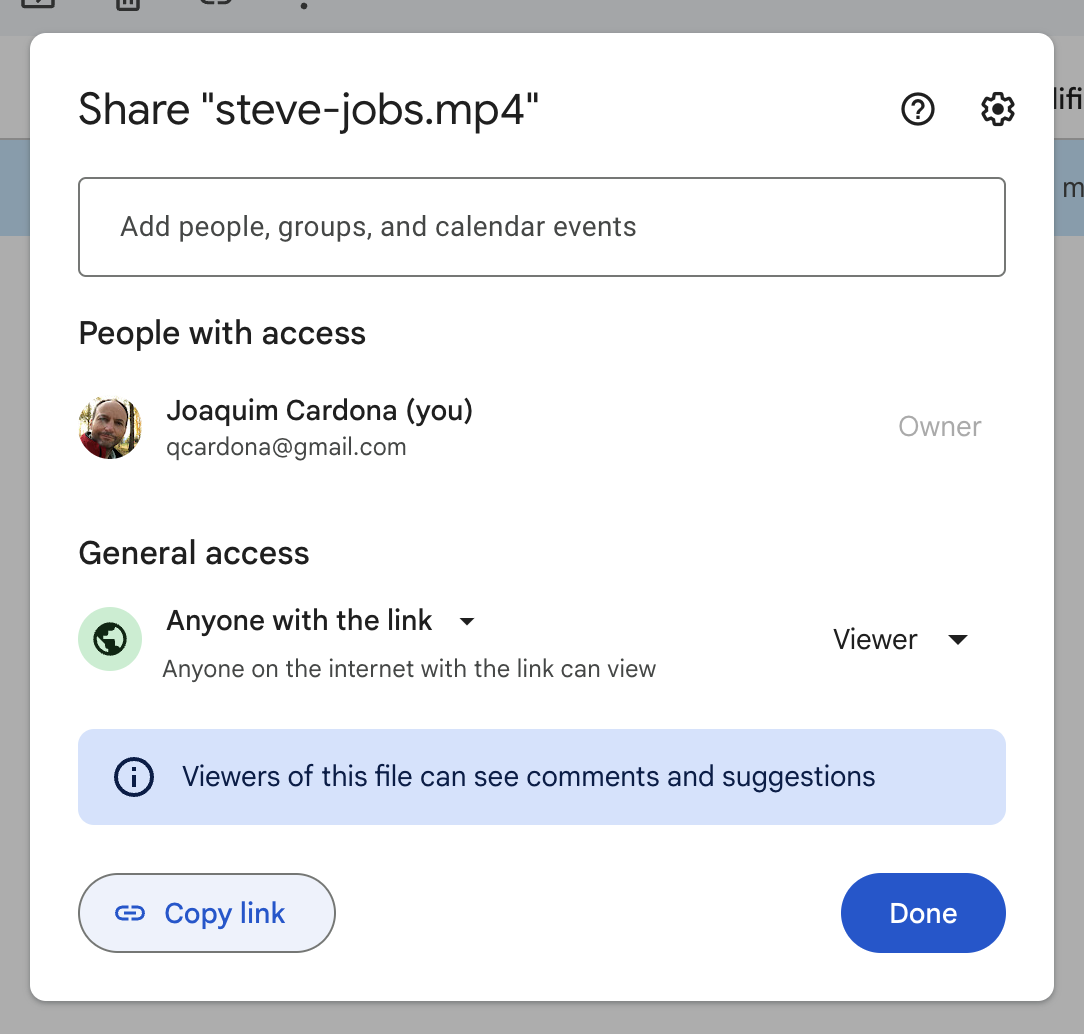
Keep the link in a safe place as it will be needed later.
Step 2: Create a new scenario on Make.com
To run this demo, I will create a new scenario on Make.com. Once you feel comfortable with this tutorial, you can integrate JSON2Video in your own workflows on Make.com.
Step 3: Add automatic subtitles
In this step, we will call the JSON2Video API and add automatic subtitles to the video. We will do that using JSON2Video's Make app.
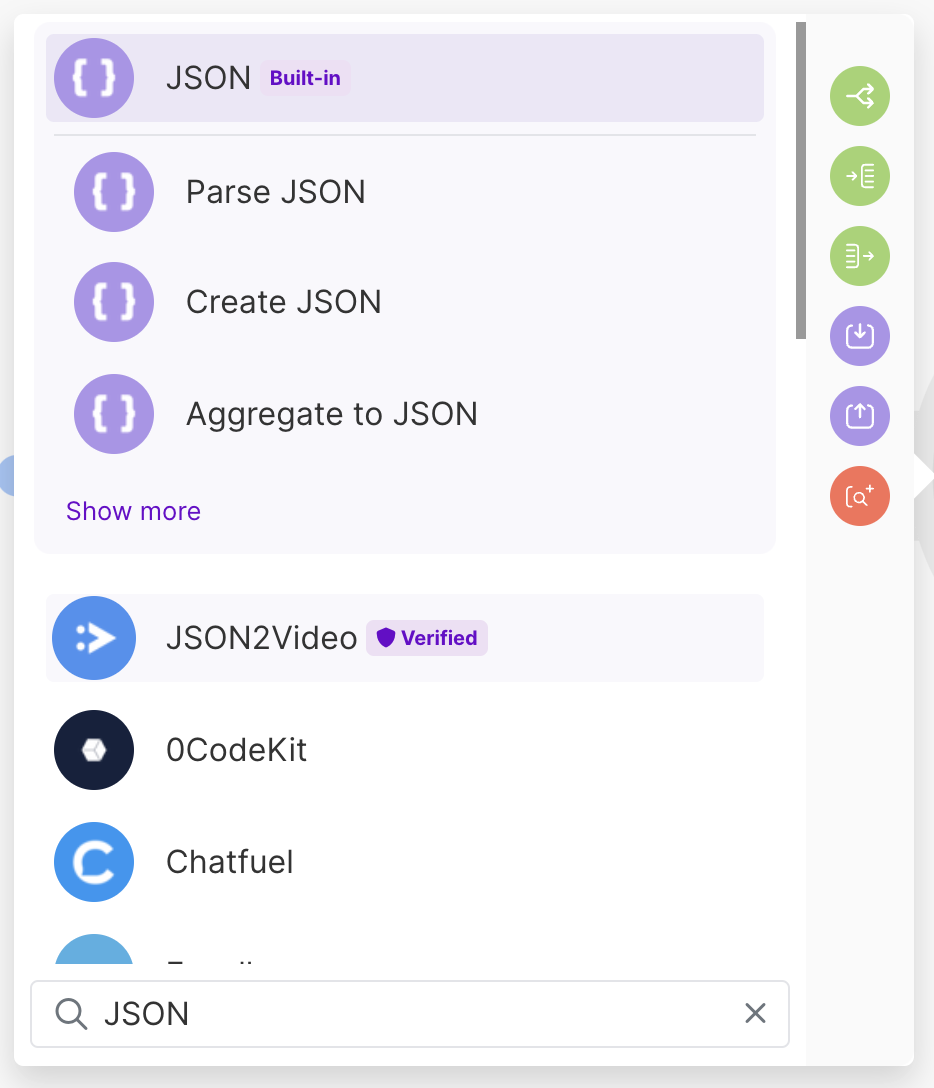
Start adding a new module to your workflow and search for "JSON2Video" in the list of apps:
Select "Add Automatic Subtitles to a Video" under the "Quick tools" section:
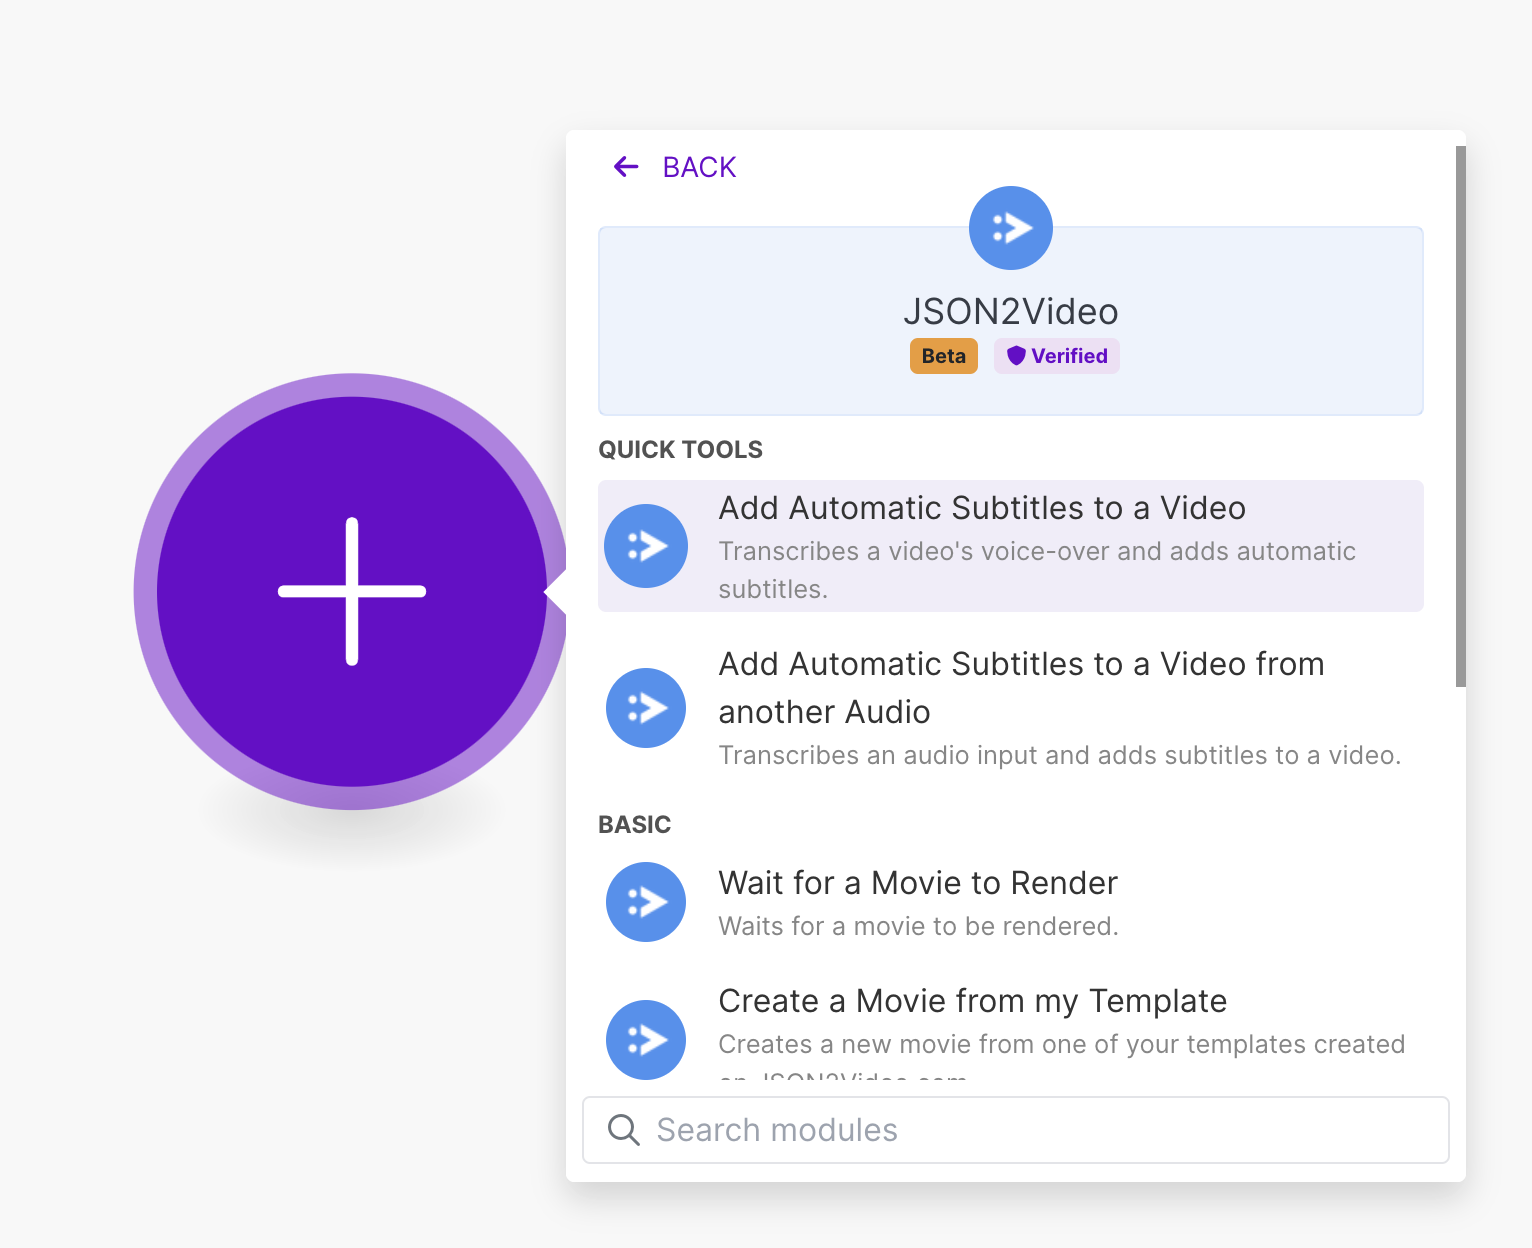
If your voice-over comes from a separate audio file (like an ElevenLabs voice over), you can use the Add Automatic Subtitles to a Video from another Audio module.
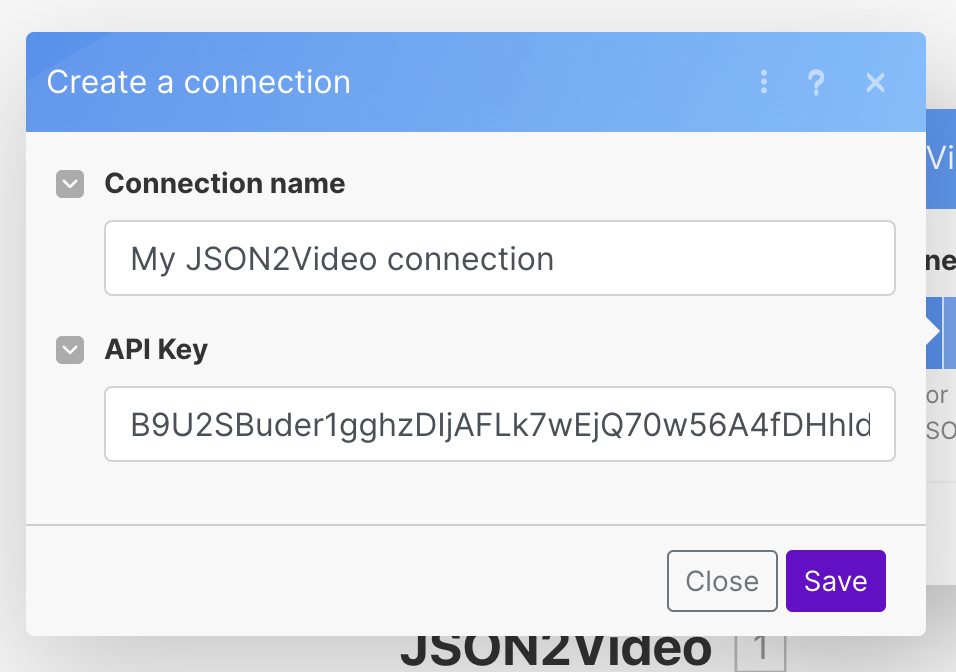
Once added, you must create a connection to your JSON2Video account. If you don't have your JSON2Video API Key yet, you can create one here. Paste your API Key and click "Save":
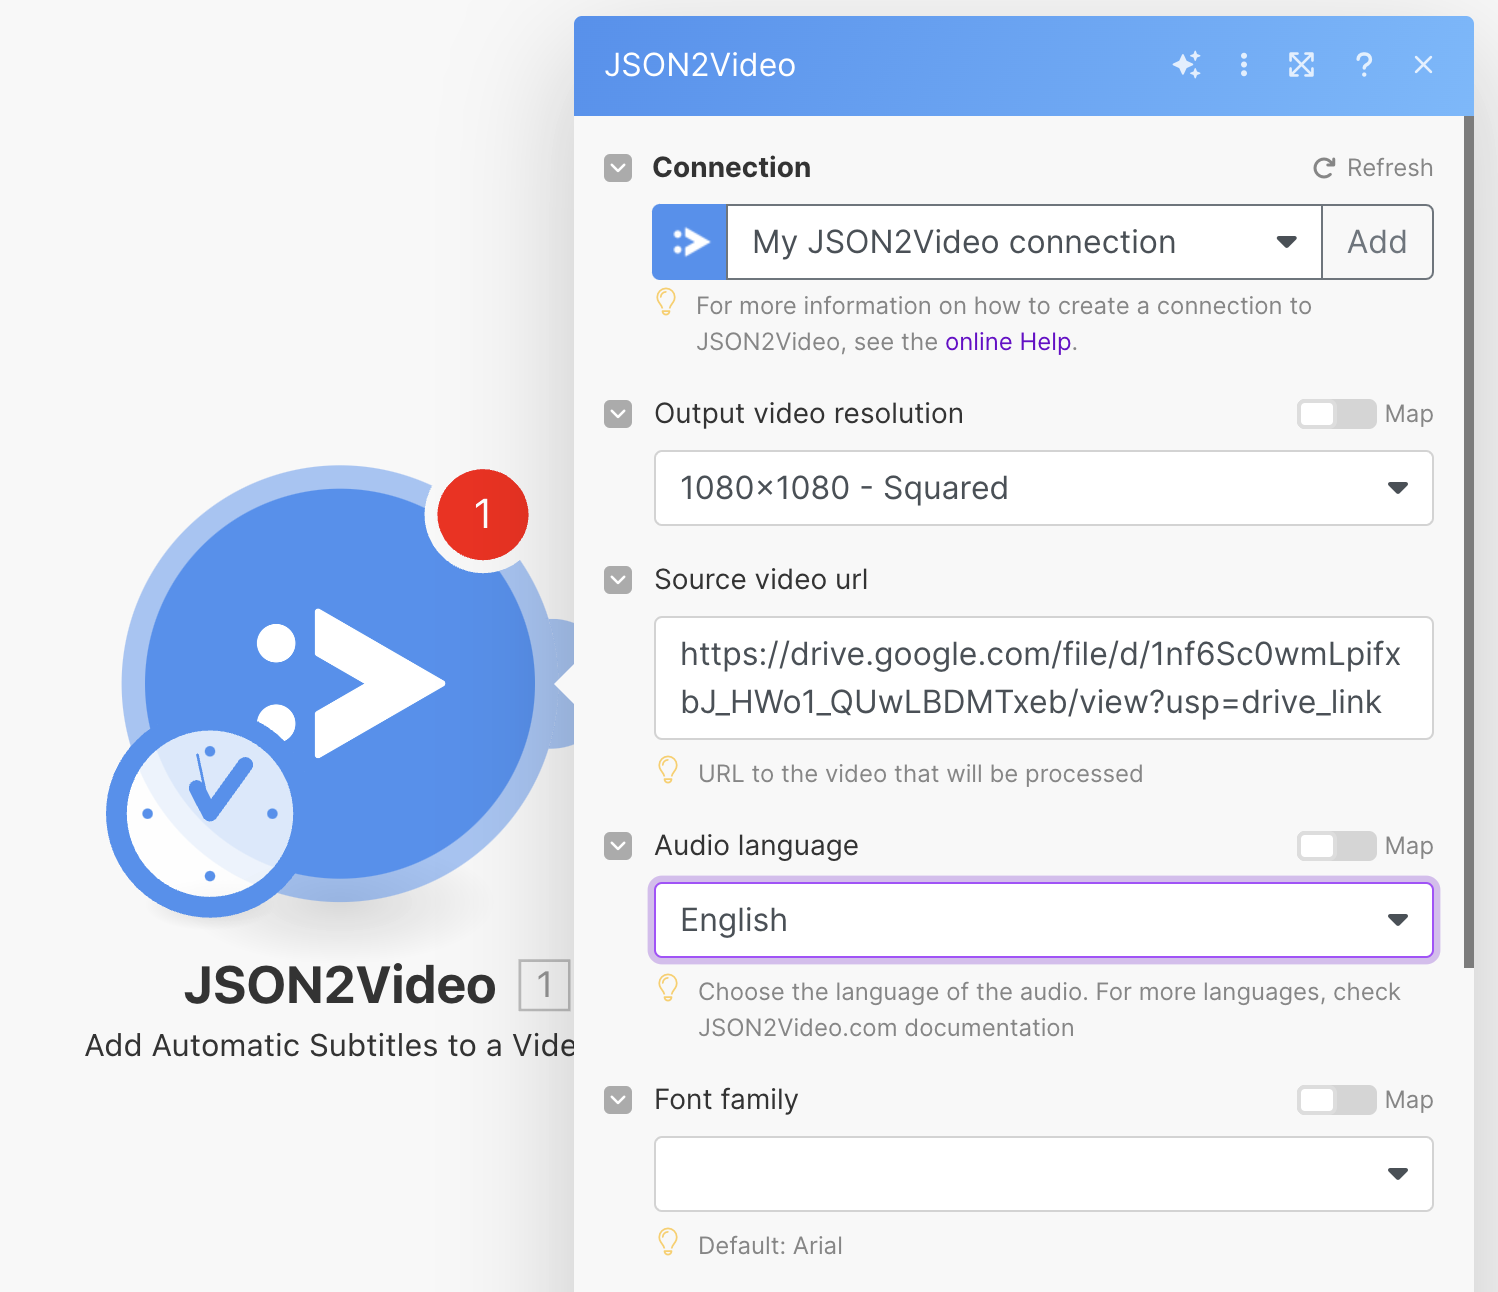
Now you are ready to configure the module to add automatic subtitles to your video:
Styling the subtitles
- Select the resolution of the video that will be created. Your original video won't be resized, so select the size that matches your input video.
- In the "Source video url" field, paste the link to your video you created in step 1.
- Make sure you select the proper language of the voice over in your video.
- Choose your preferred font for the subtitles. I selected a font called "Luckiest Guy" for this demo.
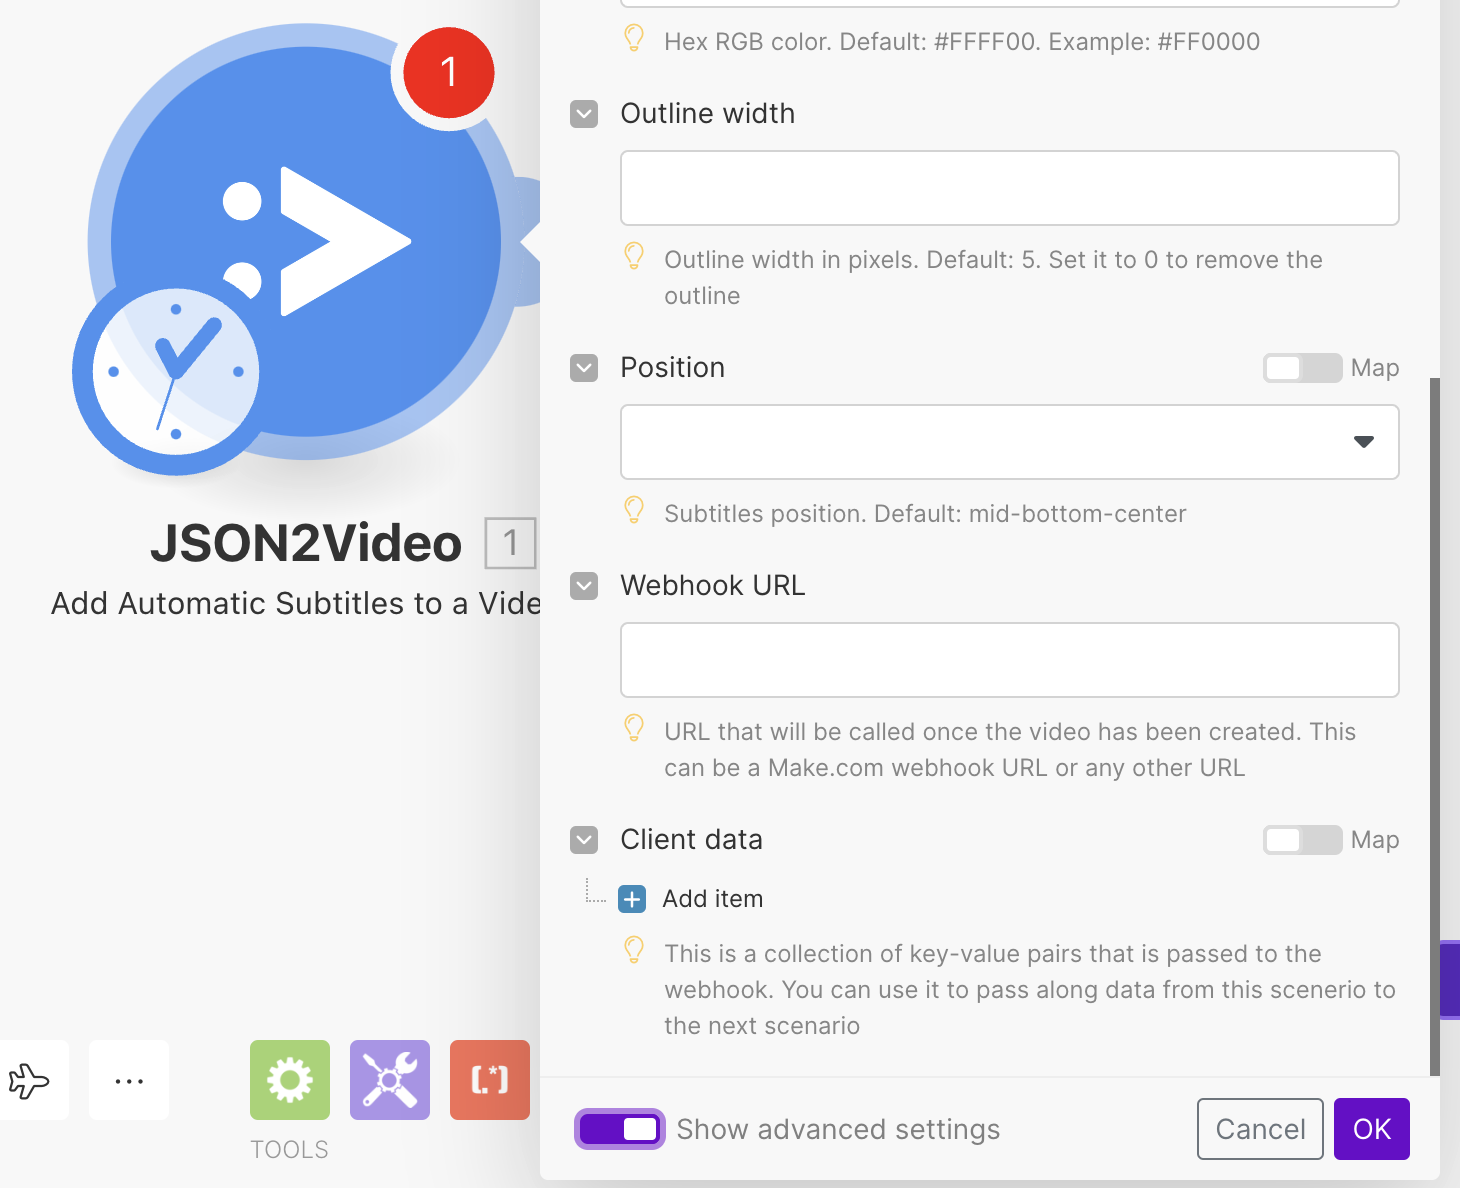
- You can also style the captions selecting a font size, the color of the highlighted word, the color of the rest of the text and the outline width.
- Choose the position of the subtitles, or leave it blank for the default position (mid-bottom-center).
JSON2Video API allows additional stylings to be added to the subtitles, but the Make.com module just offers a basic styling. If you want to add more advanced styling, you can create your own video template and use it from Make.
Using webhooks
In case you want to call a webhook when the video is finished, check the option "Show advanced settings" at the very bottom of the module configuration dialog. This will show additional fields, including "Webhook URL", where you can specify the URL to call when the video is finished. This URL can be a Make webhook, an Airtable webhook or your custom webhook URL. Check the Webhooks tutorial for more details.
In this tutorial I won't use any webhook.
Step 4: Waiting for the video
The process of transcribing and adding automatic subtitles to a video can take some time. In some cases, up to 10 minutes depending on the length of the video or the length of the voice over.
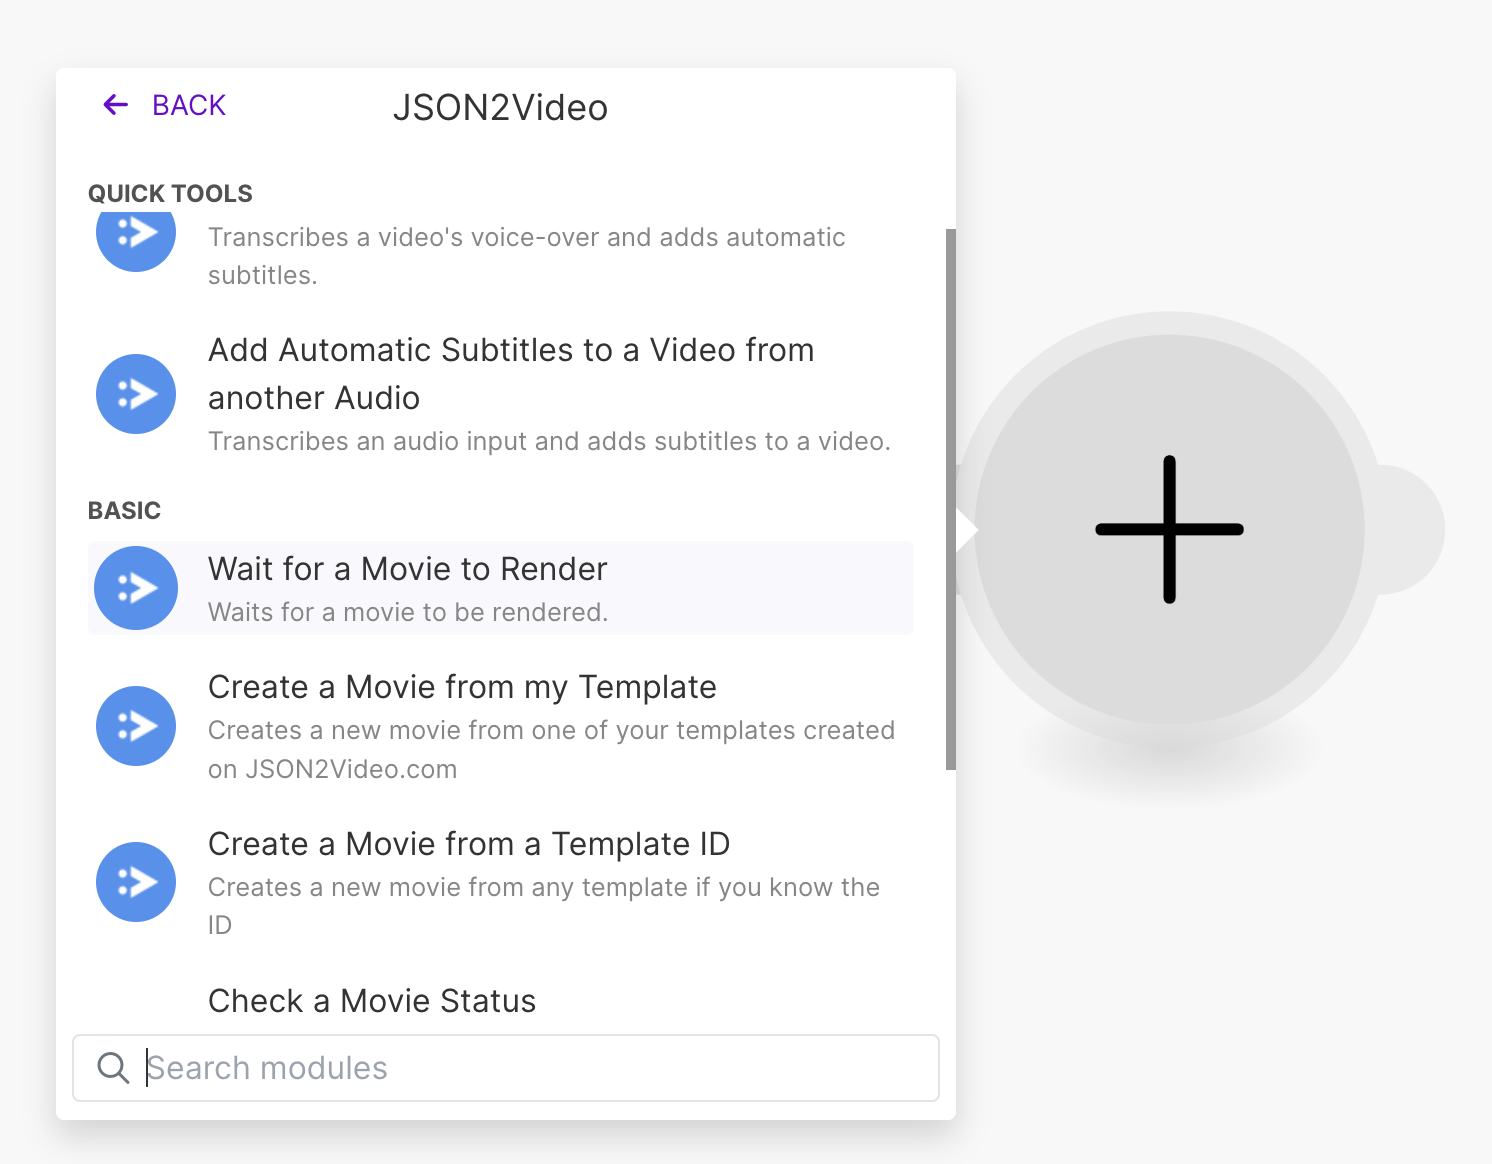
To wait for the video to be finished, you can use the "Wait for a Movie to Render" module, and it will check every few seconds if the video is finished. Add this module to your scenario and make sure it's connected after the previous module:
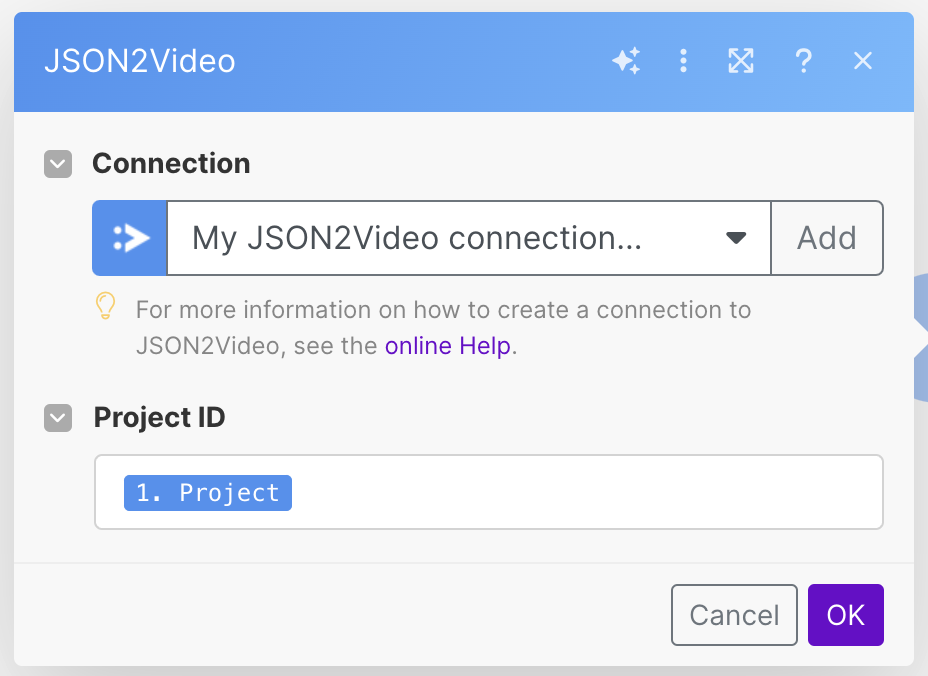
You must specify the Project identifier of the video you want to check, and this is a information the "Add Automatic Subtitles to a Video" module returns.
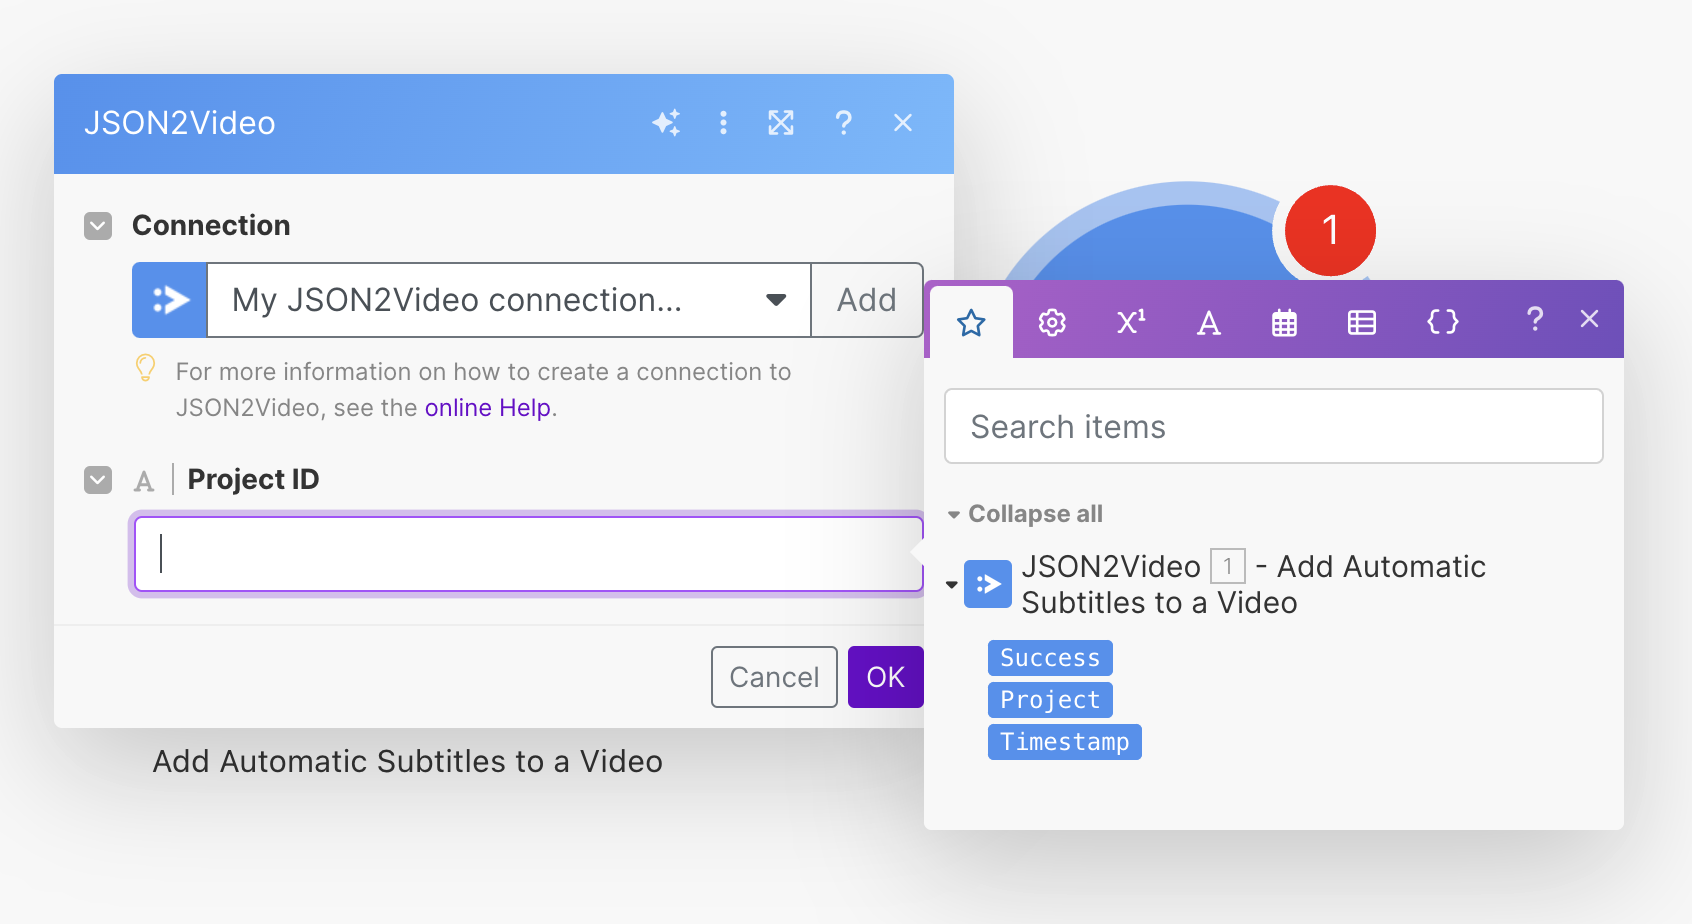
It should look like similar to this:
Step 5: Run the scenario
Now, everything is ready to go, and it should look like this:
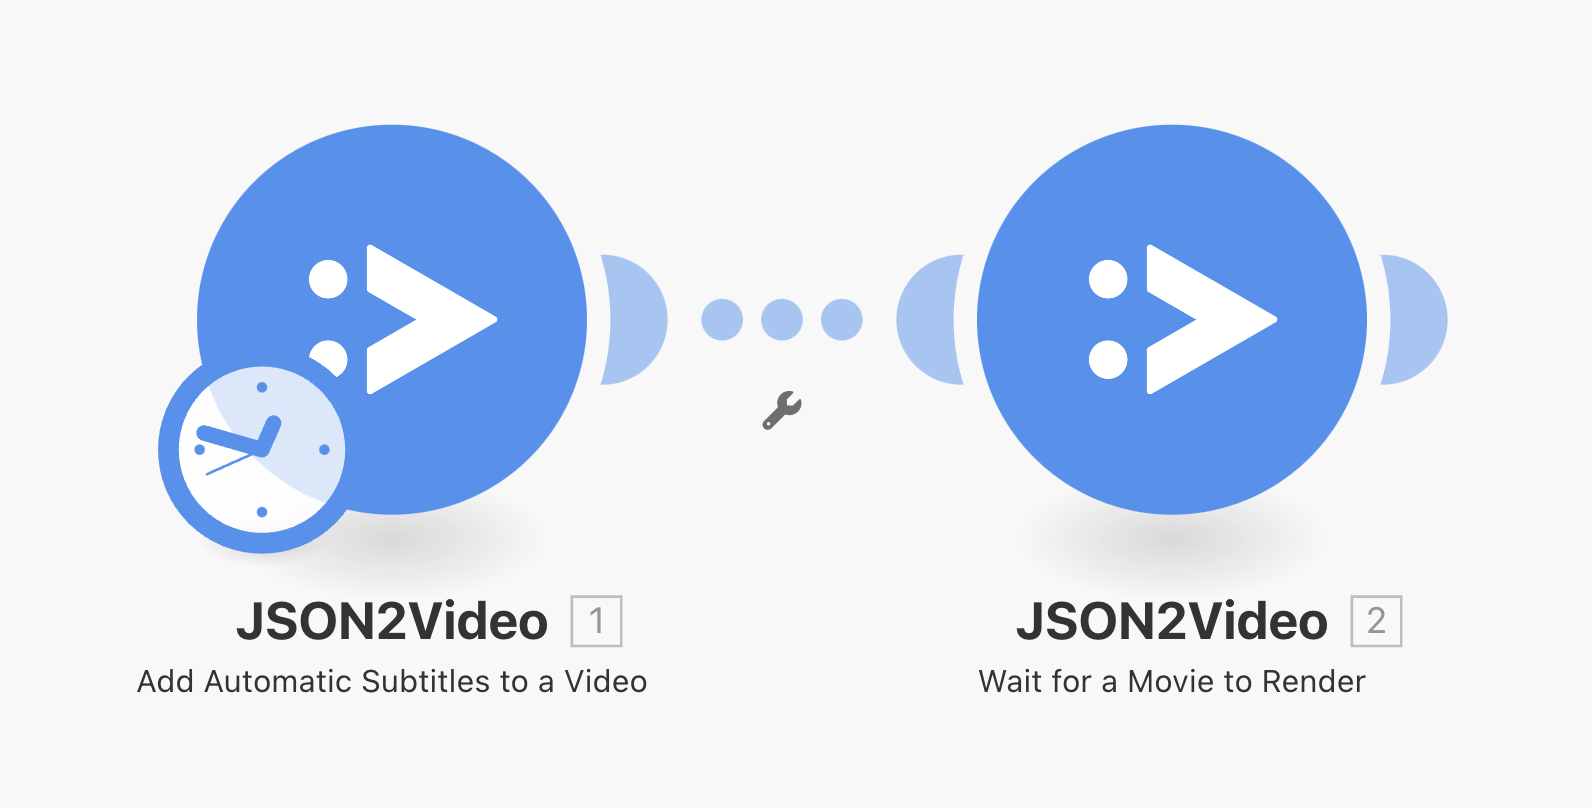
Click on the "Run once" button to run your scenario.
This will run first the "Add Automatic Subtitles to a Video" module and after the "Wait for a Movie to Render" module. As said, the scenario can take a few minutes to finish, so be patient.
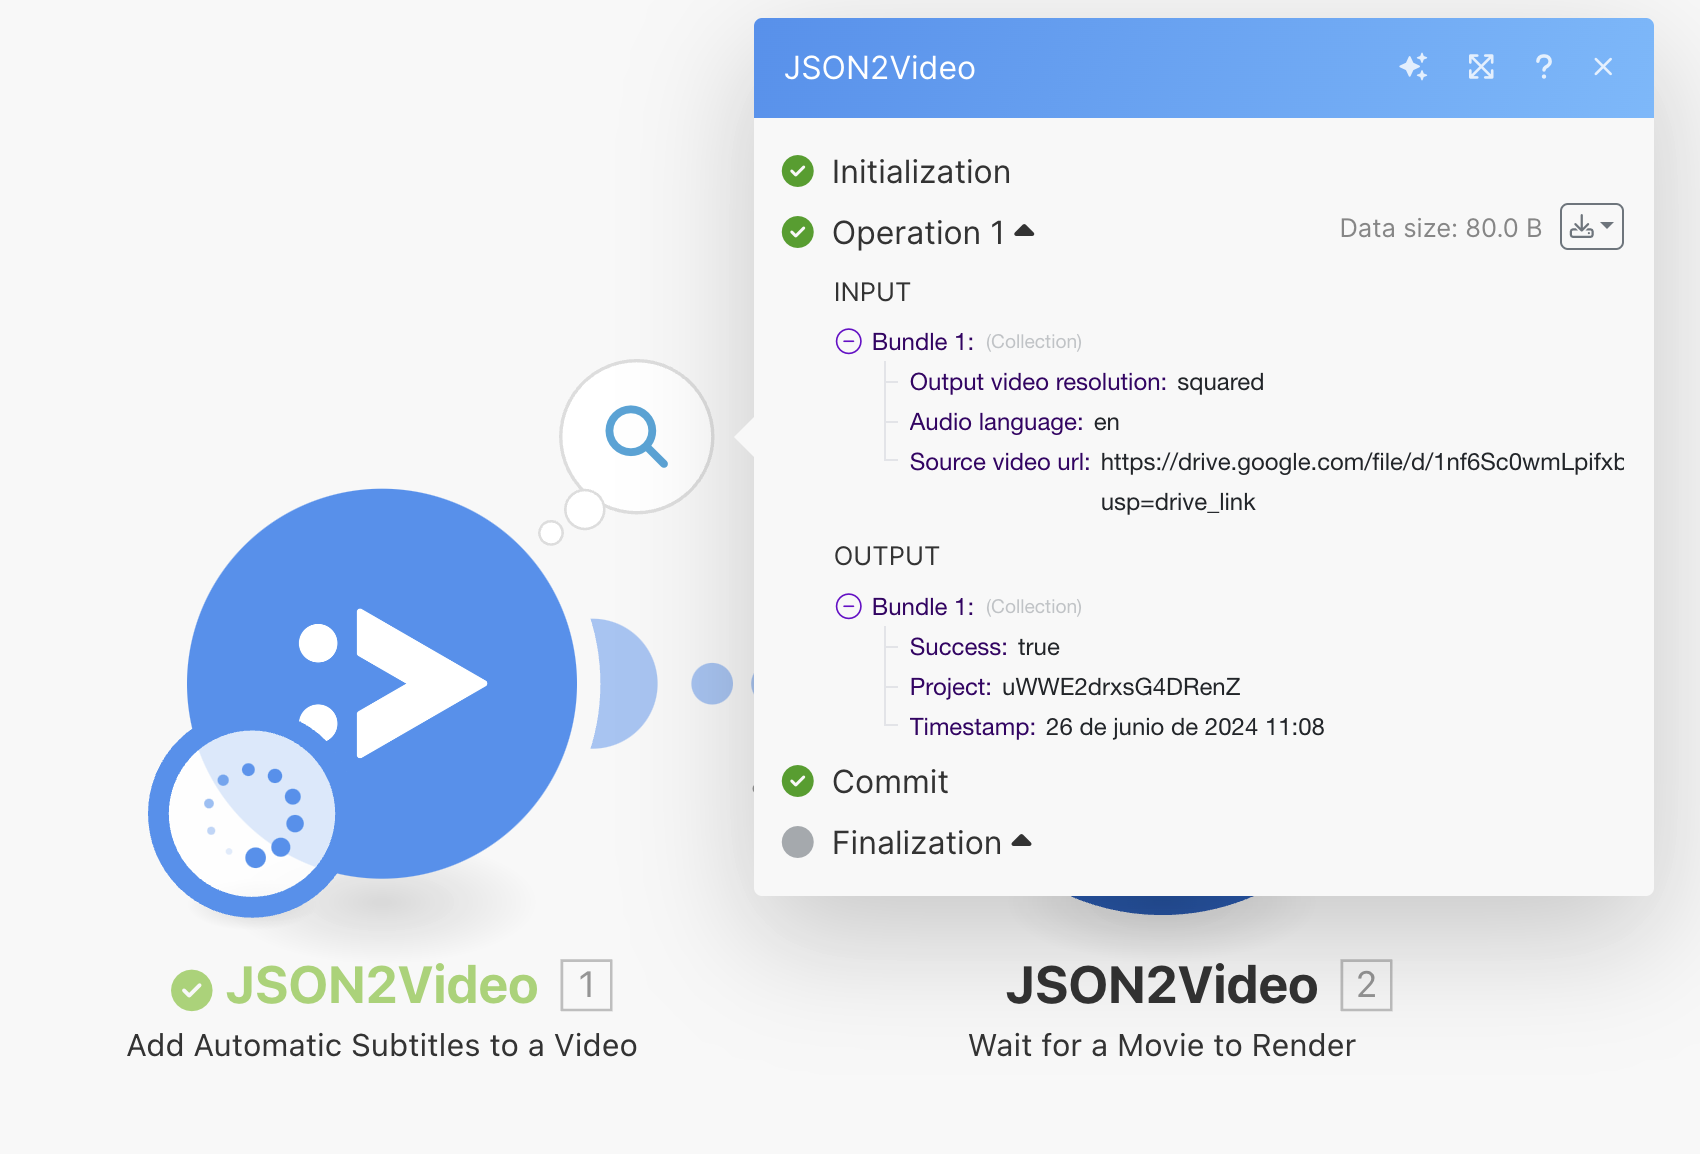
The output of the "Add Automatic Subtitles to a Video" module should be similar to the image below.
Check that the output is successful and that it returns a Project identifier.
And the output of the "Wait for a Movie to Render" module should be similar to this:
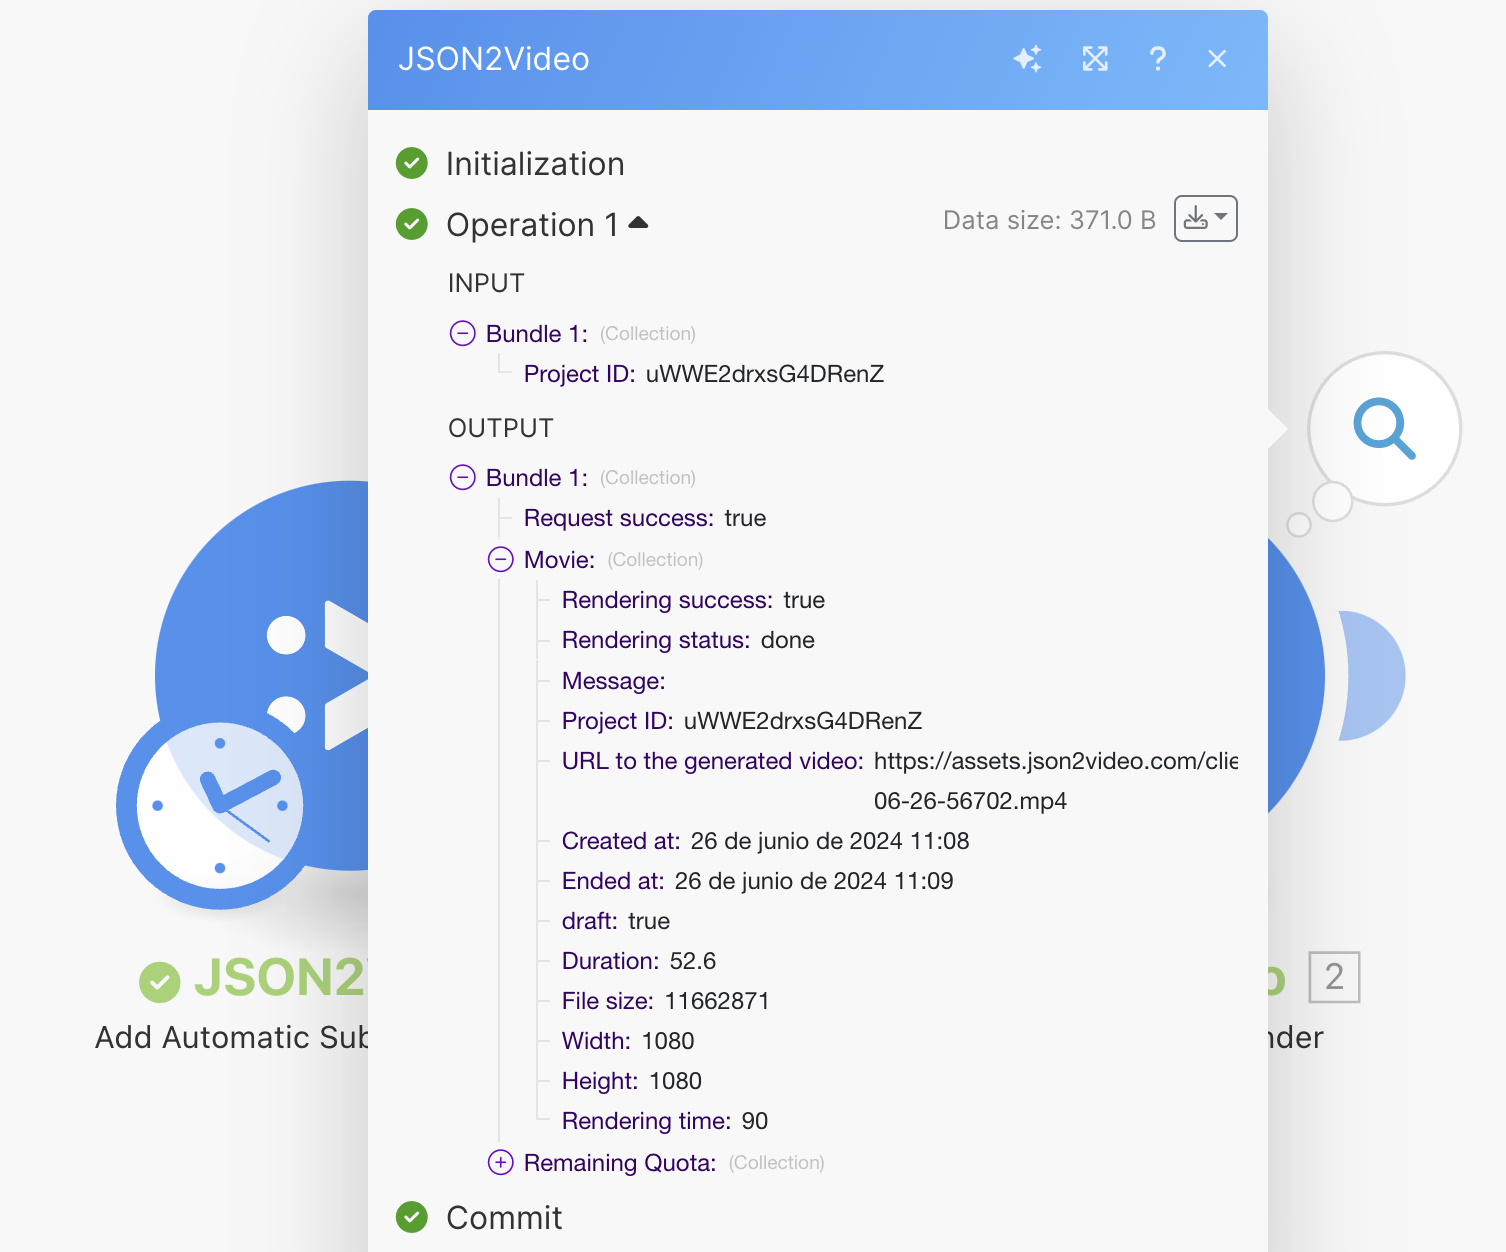
The API returns detailed information about the rendered video, including the URL to the video, the duration, file size or resolution.
When you integrate JSON2Video in your own workflows, you will use the returned URL and maybe other properties of the video in other modules.
Watch the result
Copy the URL returned in the last step and paste it in your browser.
Published on June 26th, 2024
